Jacket Experiment
I have needed a dressier jacket option for probably 15 years, but could never find something I actually wanted. So, we would go places, I would be all dressed up, and have on my puffy jacket. Not my idea of beautiful. We moved in October, and my storage space is more limited than it was before. After trying to find storage for all my art and craft supplies, I decided to make as much as I could with what I had so that I wouldn’t need to store that stuff anymore. Then, I saw Wool and Pine’s Sea Glass Sweater and thought, “But, make it a jacket.” So, I did. But, I also didn’t.
You can stop here if you’re not interested in the design and knitting process and just shower me with compliments. If you are interested in those things, read on.
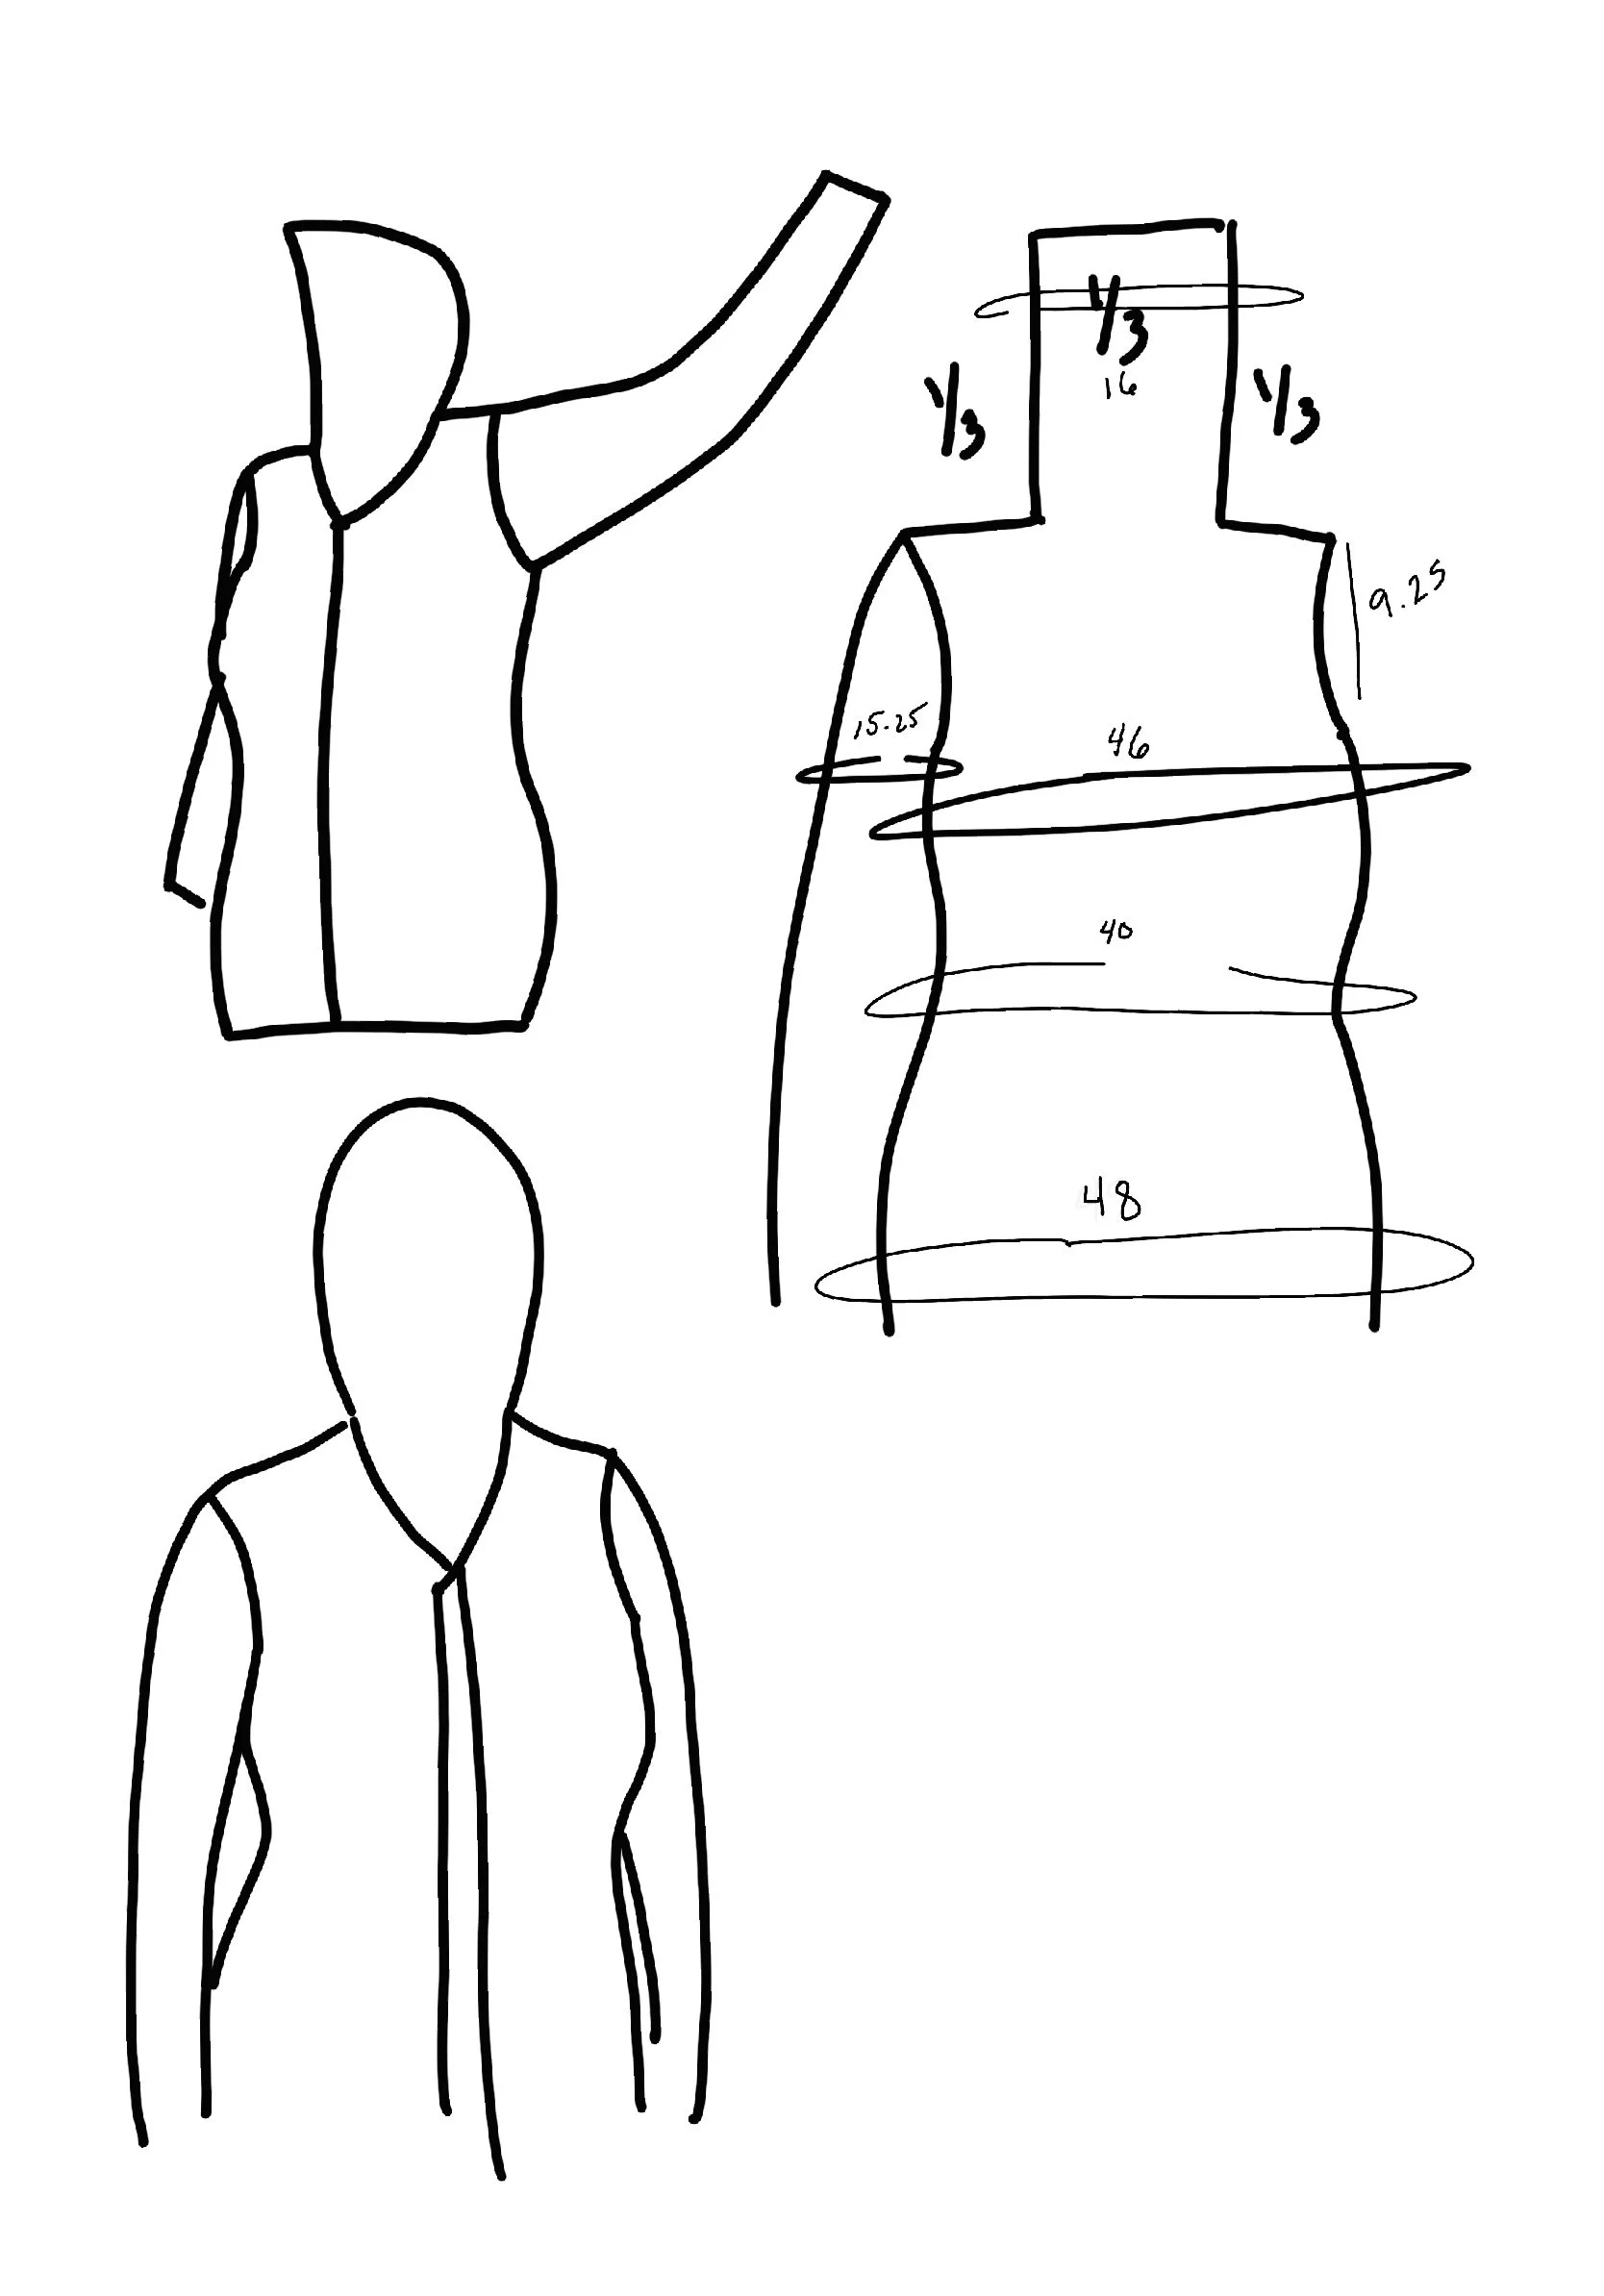
The first thing I did was decide on a shape and draw that out in Procreate.
I am not a knitwear designer, so everything I did was sort of try it, and if it didn’t work, rip it out and try something different.
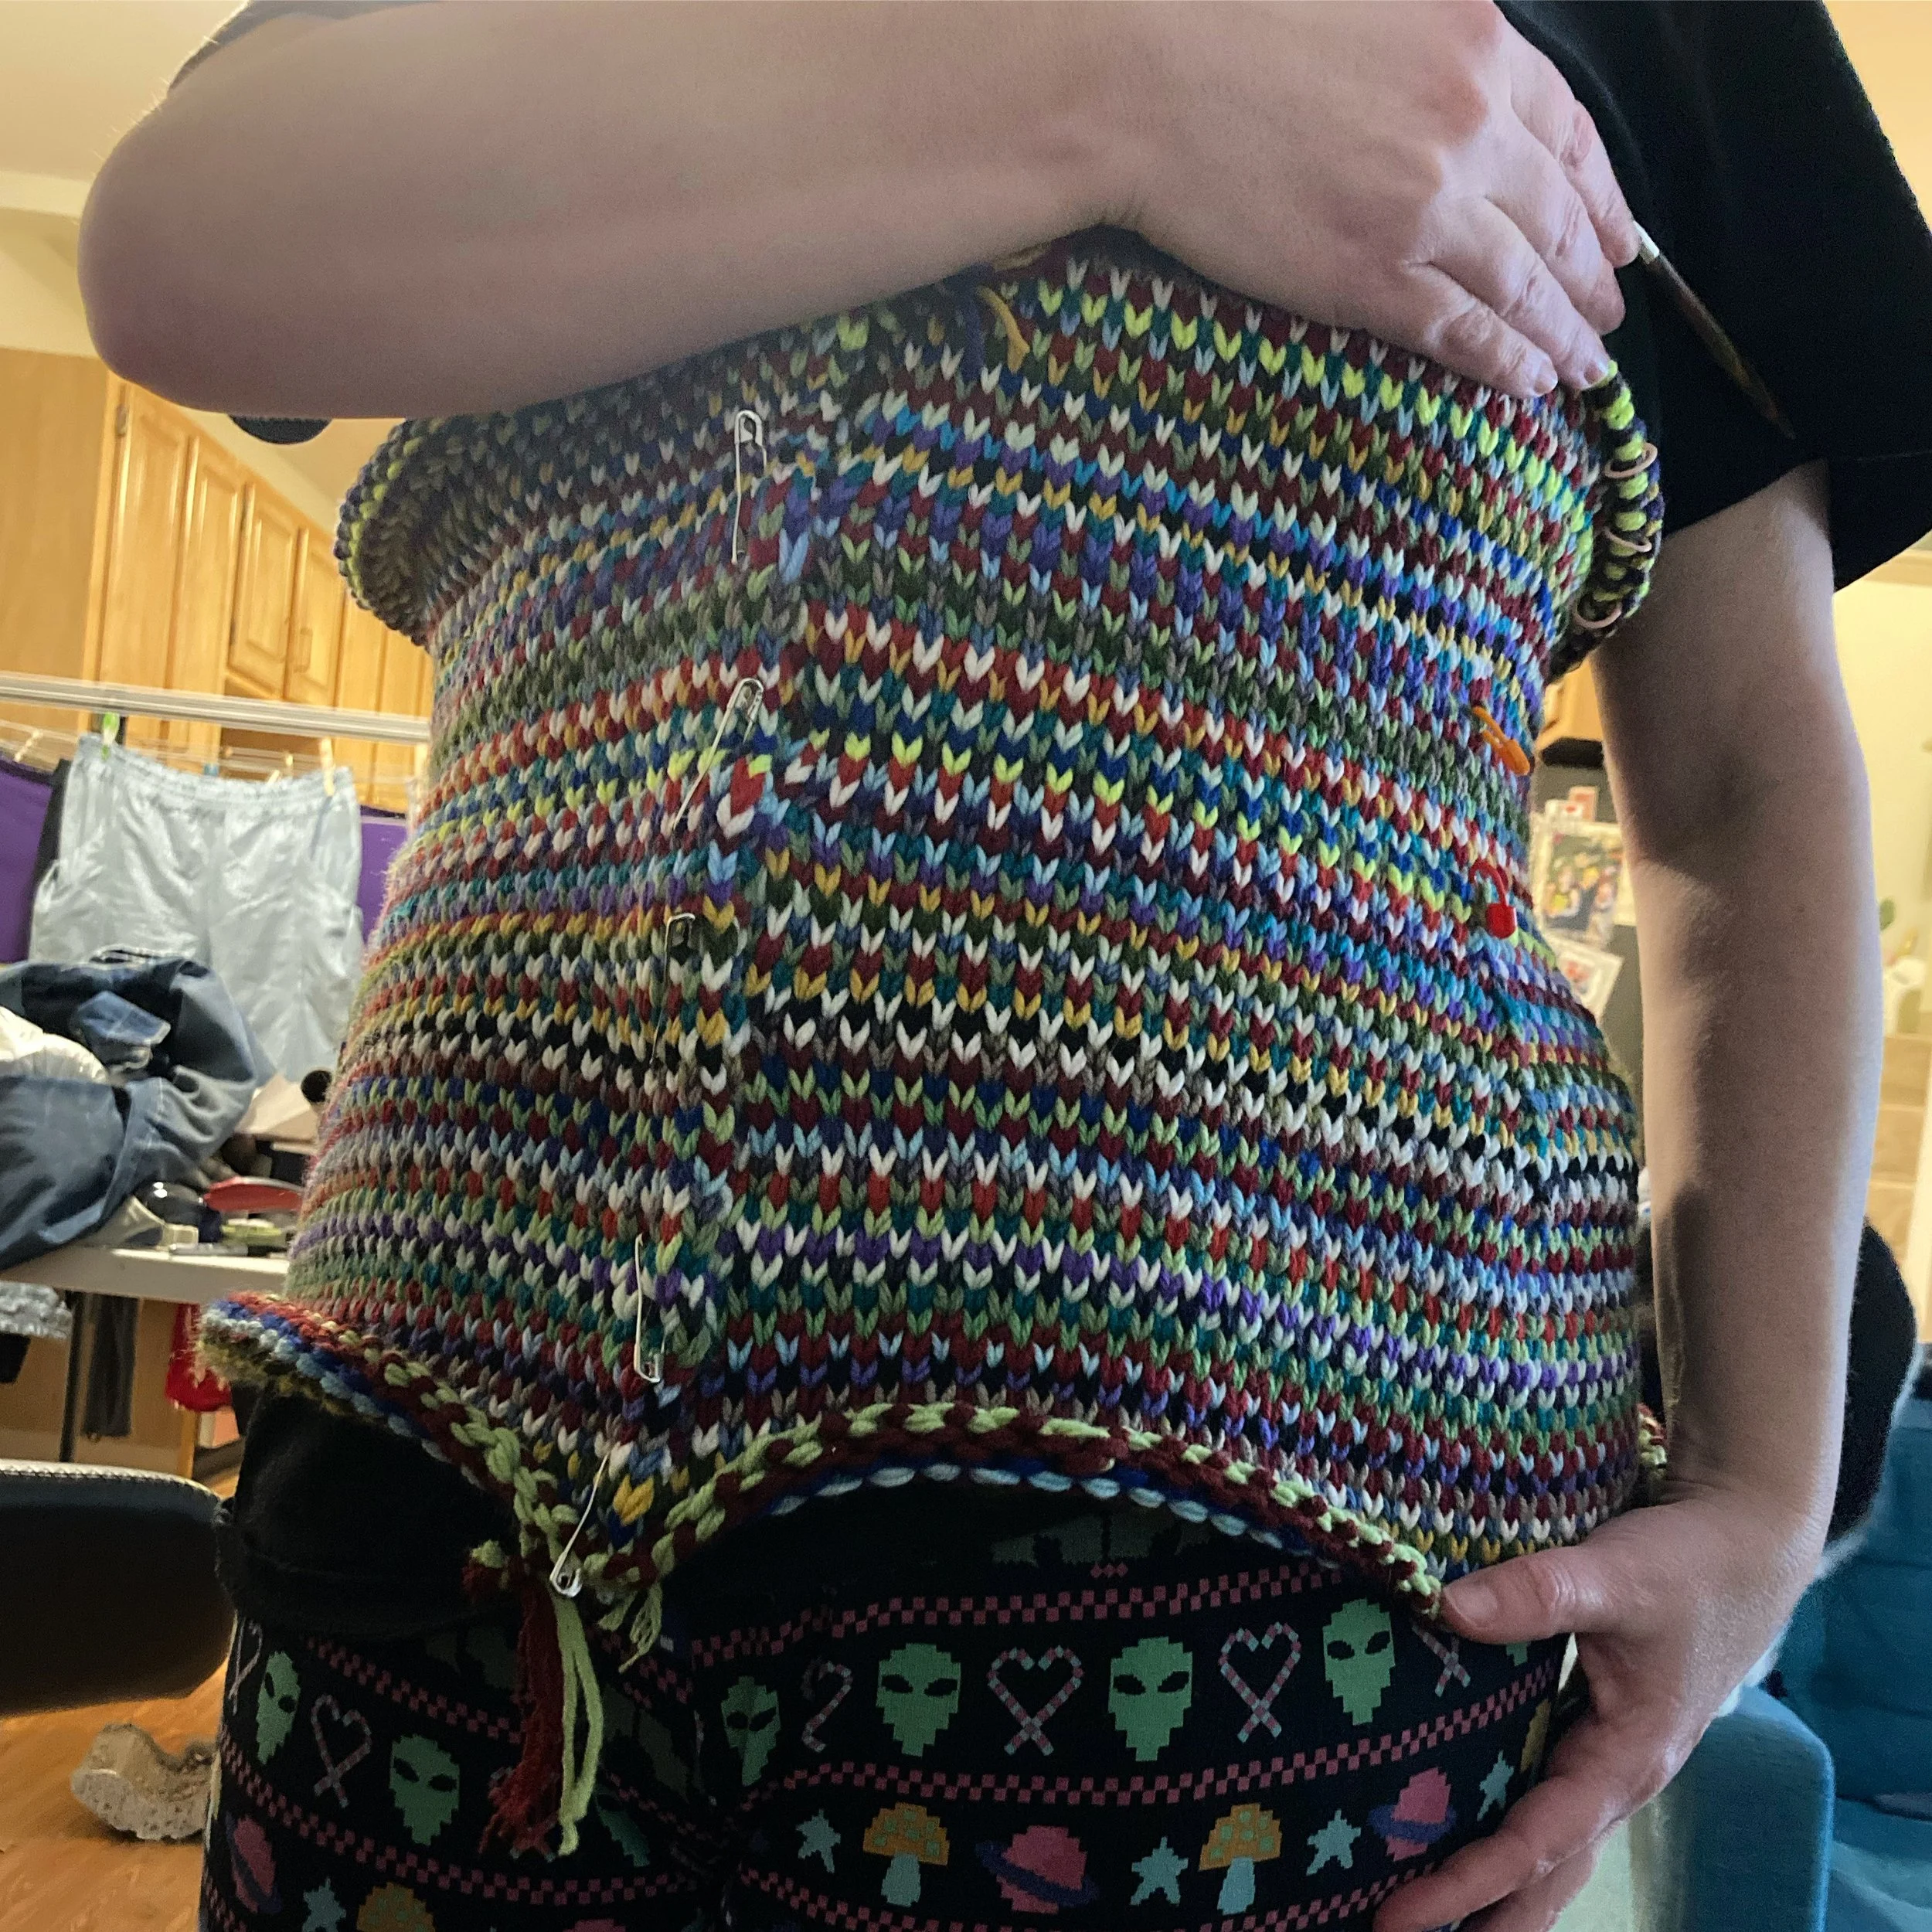
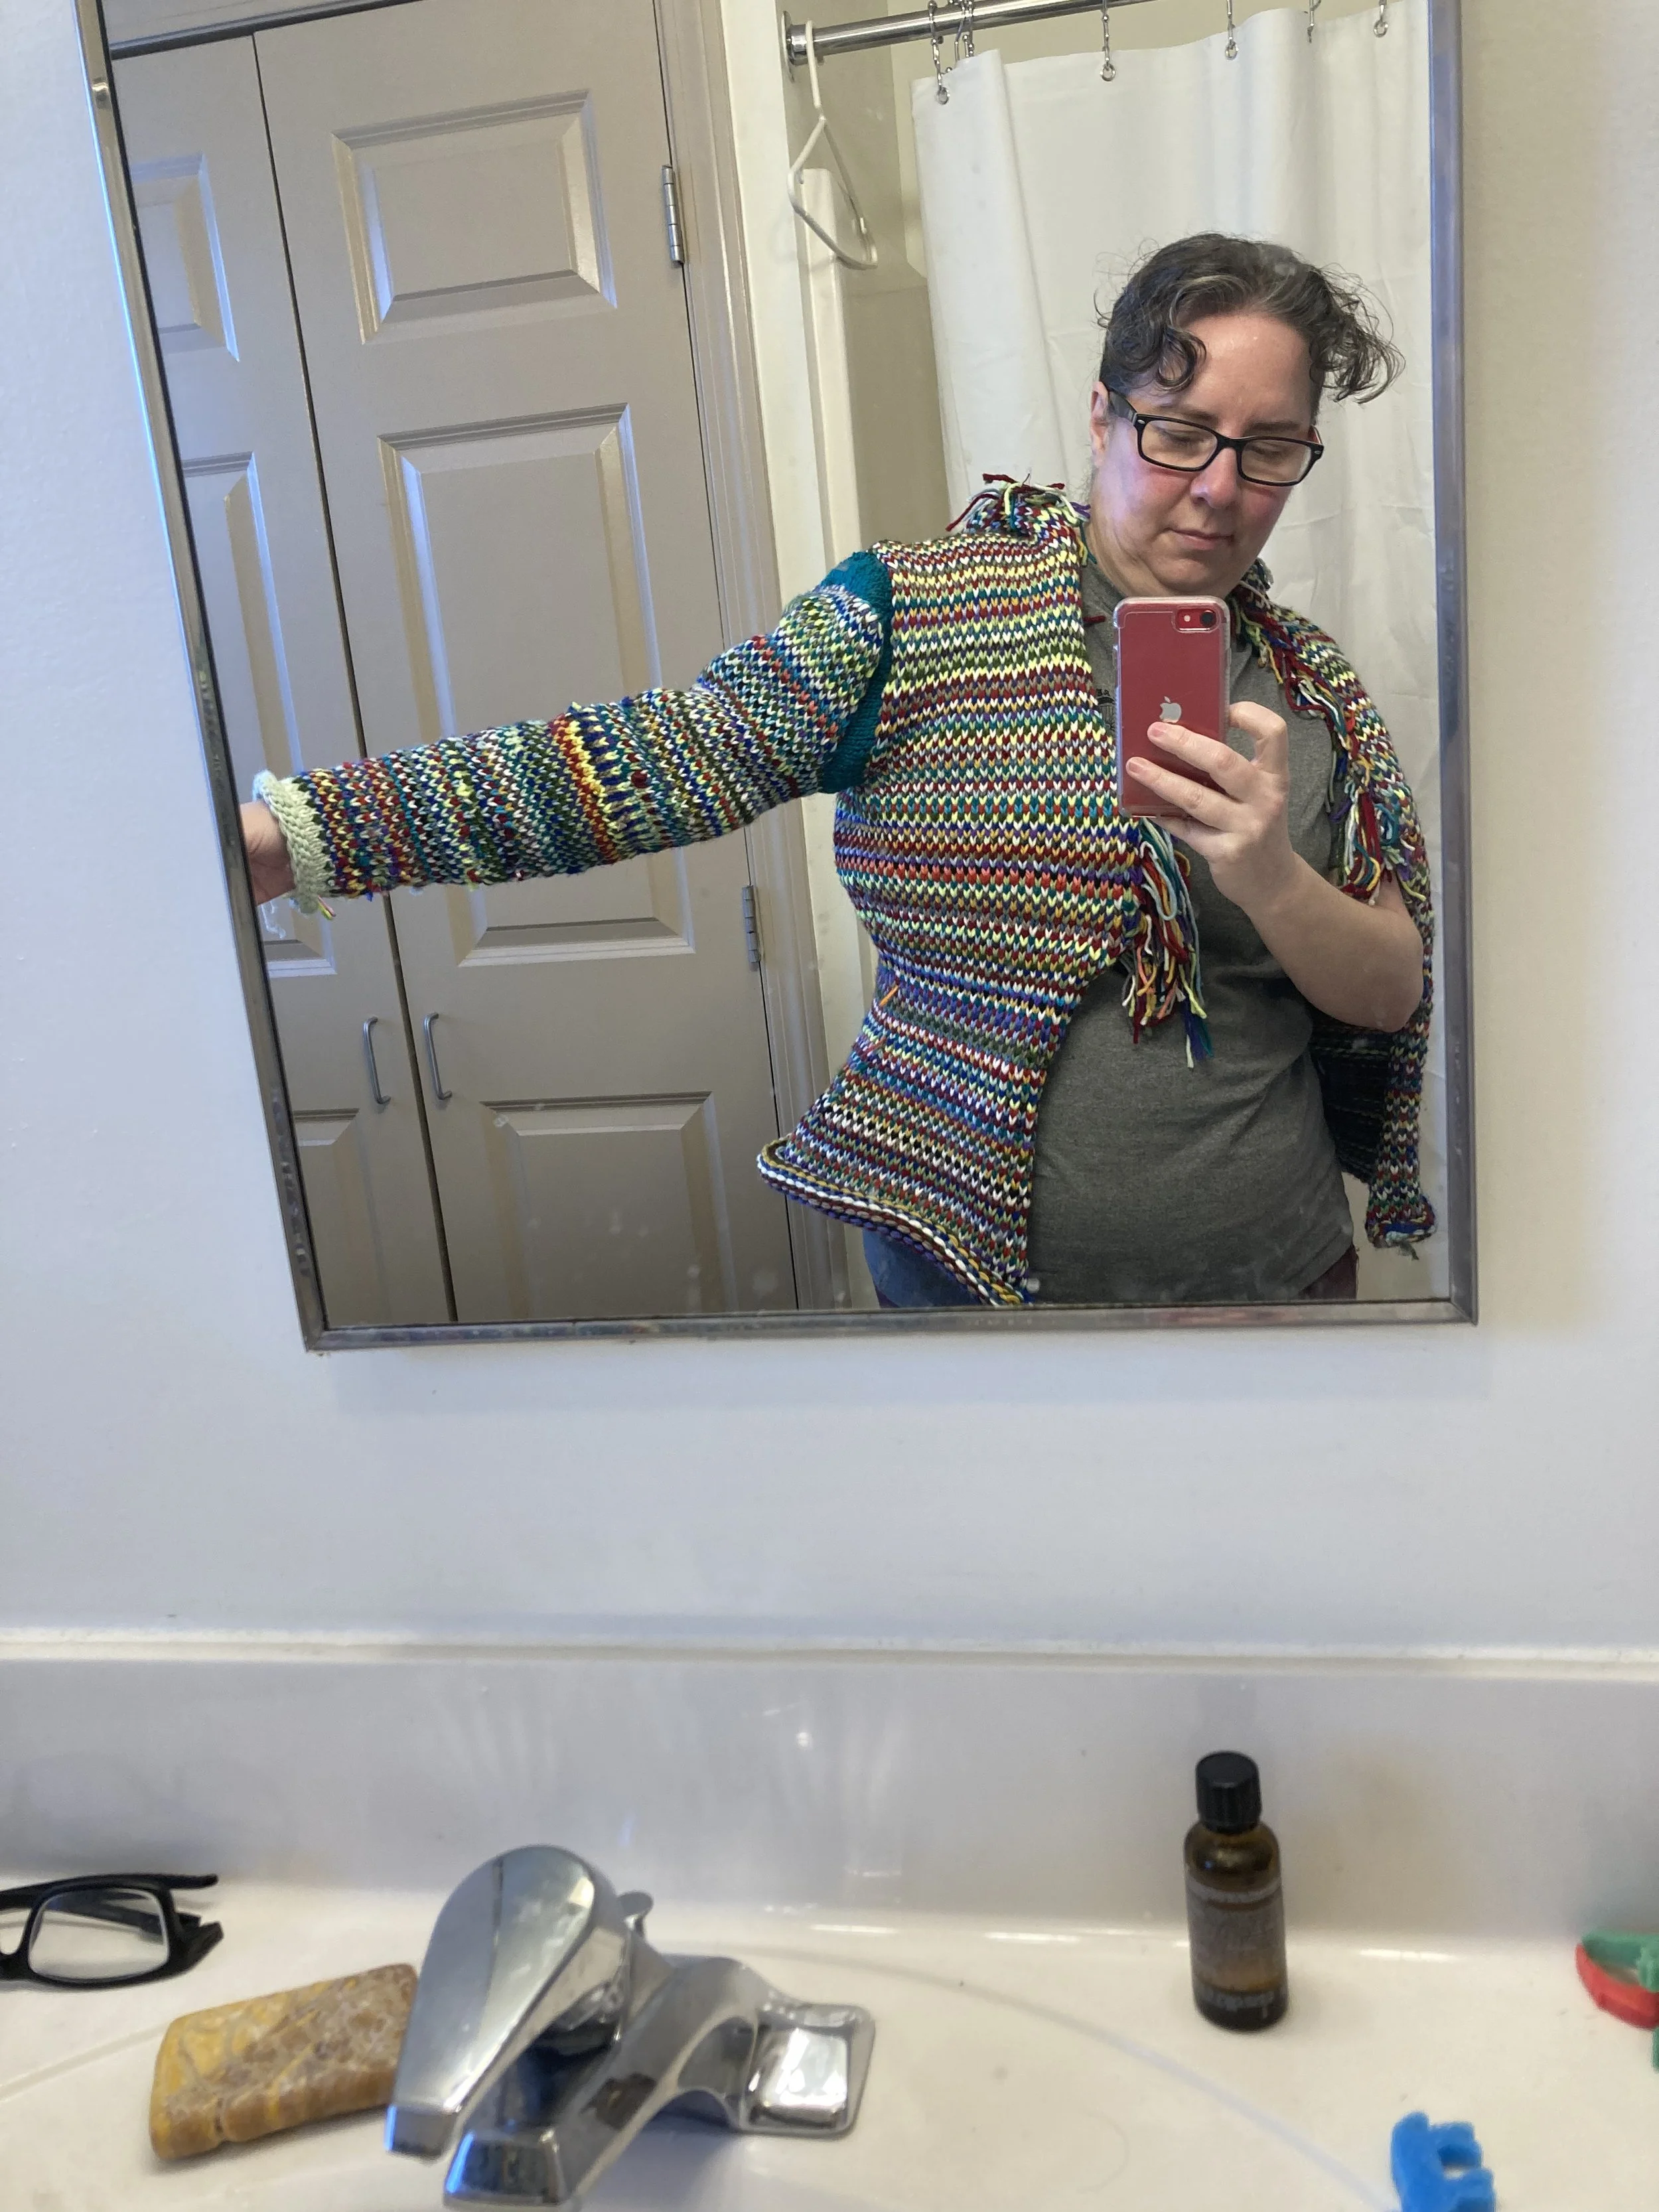
In the above photo, you can see me trying it on and panicking a bit because it was so tight. I had to firmly remind myself I had designed it to allow for a large border.
In addition to Wool and Pine’s Sea Glass Sweater inspiration, I broke out my copy of Elizabeth Zimmerman’s The Opinionated Knitter (why is this book $30 on Amazon right now?!) and read her instructions for the Aran Coat. Then, I went to Ravelry, and looked at people’s project notes for the Aran Coat. One of the notes I used in my own project was the idea of moving the shoulder seam further toward the chest. I have sloped shoulders, so this made sense to me, and it worked out because the jacket fits me perfectly! I am so thankful to Ravelry user AmyKH for those notes.
I took excellent notes until I got to about halfway down the sleeves and then I gave up on notes. Honestly, the notes were more design directions for myself anyway. I do want to remake this at some point, but in wool that will felt. That means that these notes won’t be super useful to me, as they’re mostly, “knit so many rows, then start decreases,” etc.
My first design plan change happened at the end of the first row I knit. EZ’s Aran Coat is knit in the round, then steeked. I had planned to do that, but once I got to the end of the first row, I realized that didn’t make sense, since I was changing yarn every row. Since I was knitting on cabled needles, I just went back to the start of the row and started the next one. I did, however, steek the sleeves as suggested by EZ, and that worked out well.
This was knit holding worsted weight yarn doubled, which makes for a nice thick jacket. What it does not make for is easy weaving in of ends. I noticed about 4” up that the edges were much thicker because of the four strands of yarn being woven in on each row, so I started tying them off and left them for later me to think about.
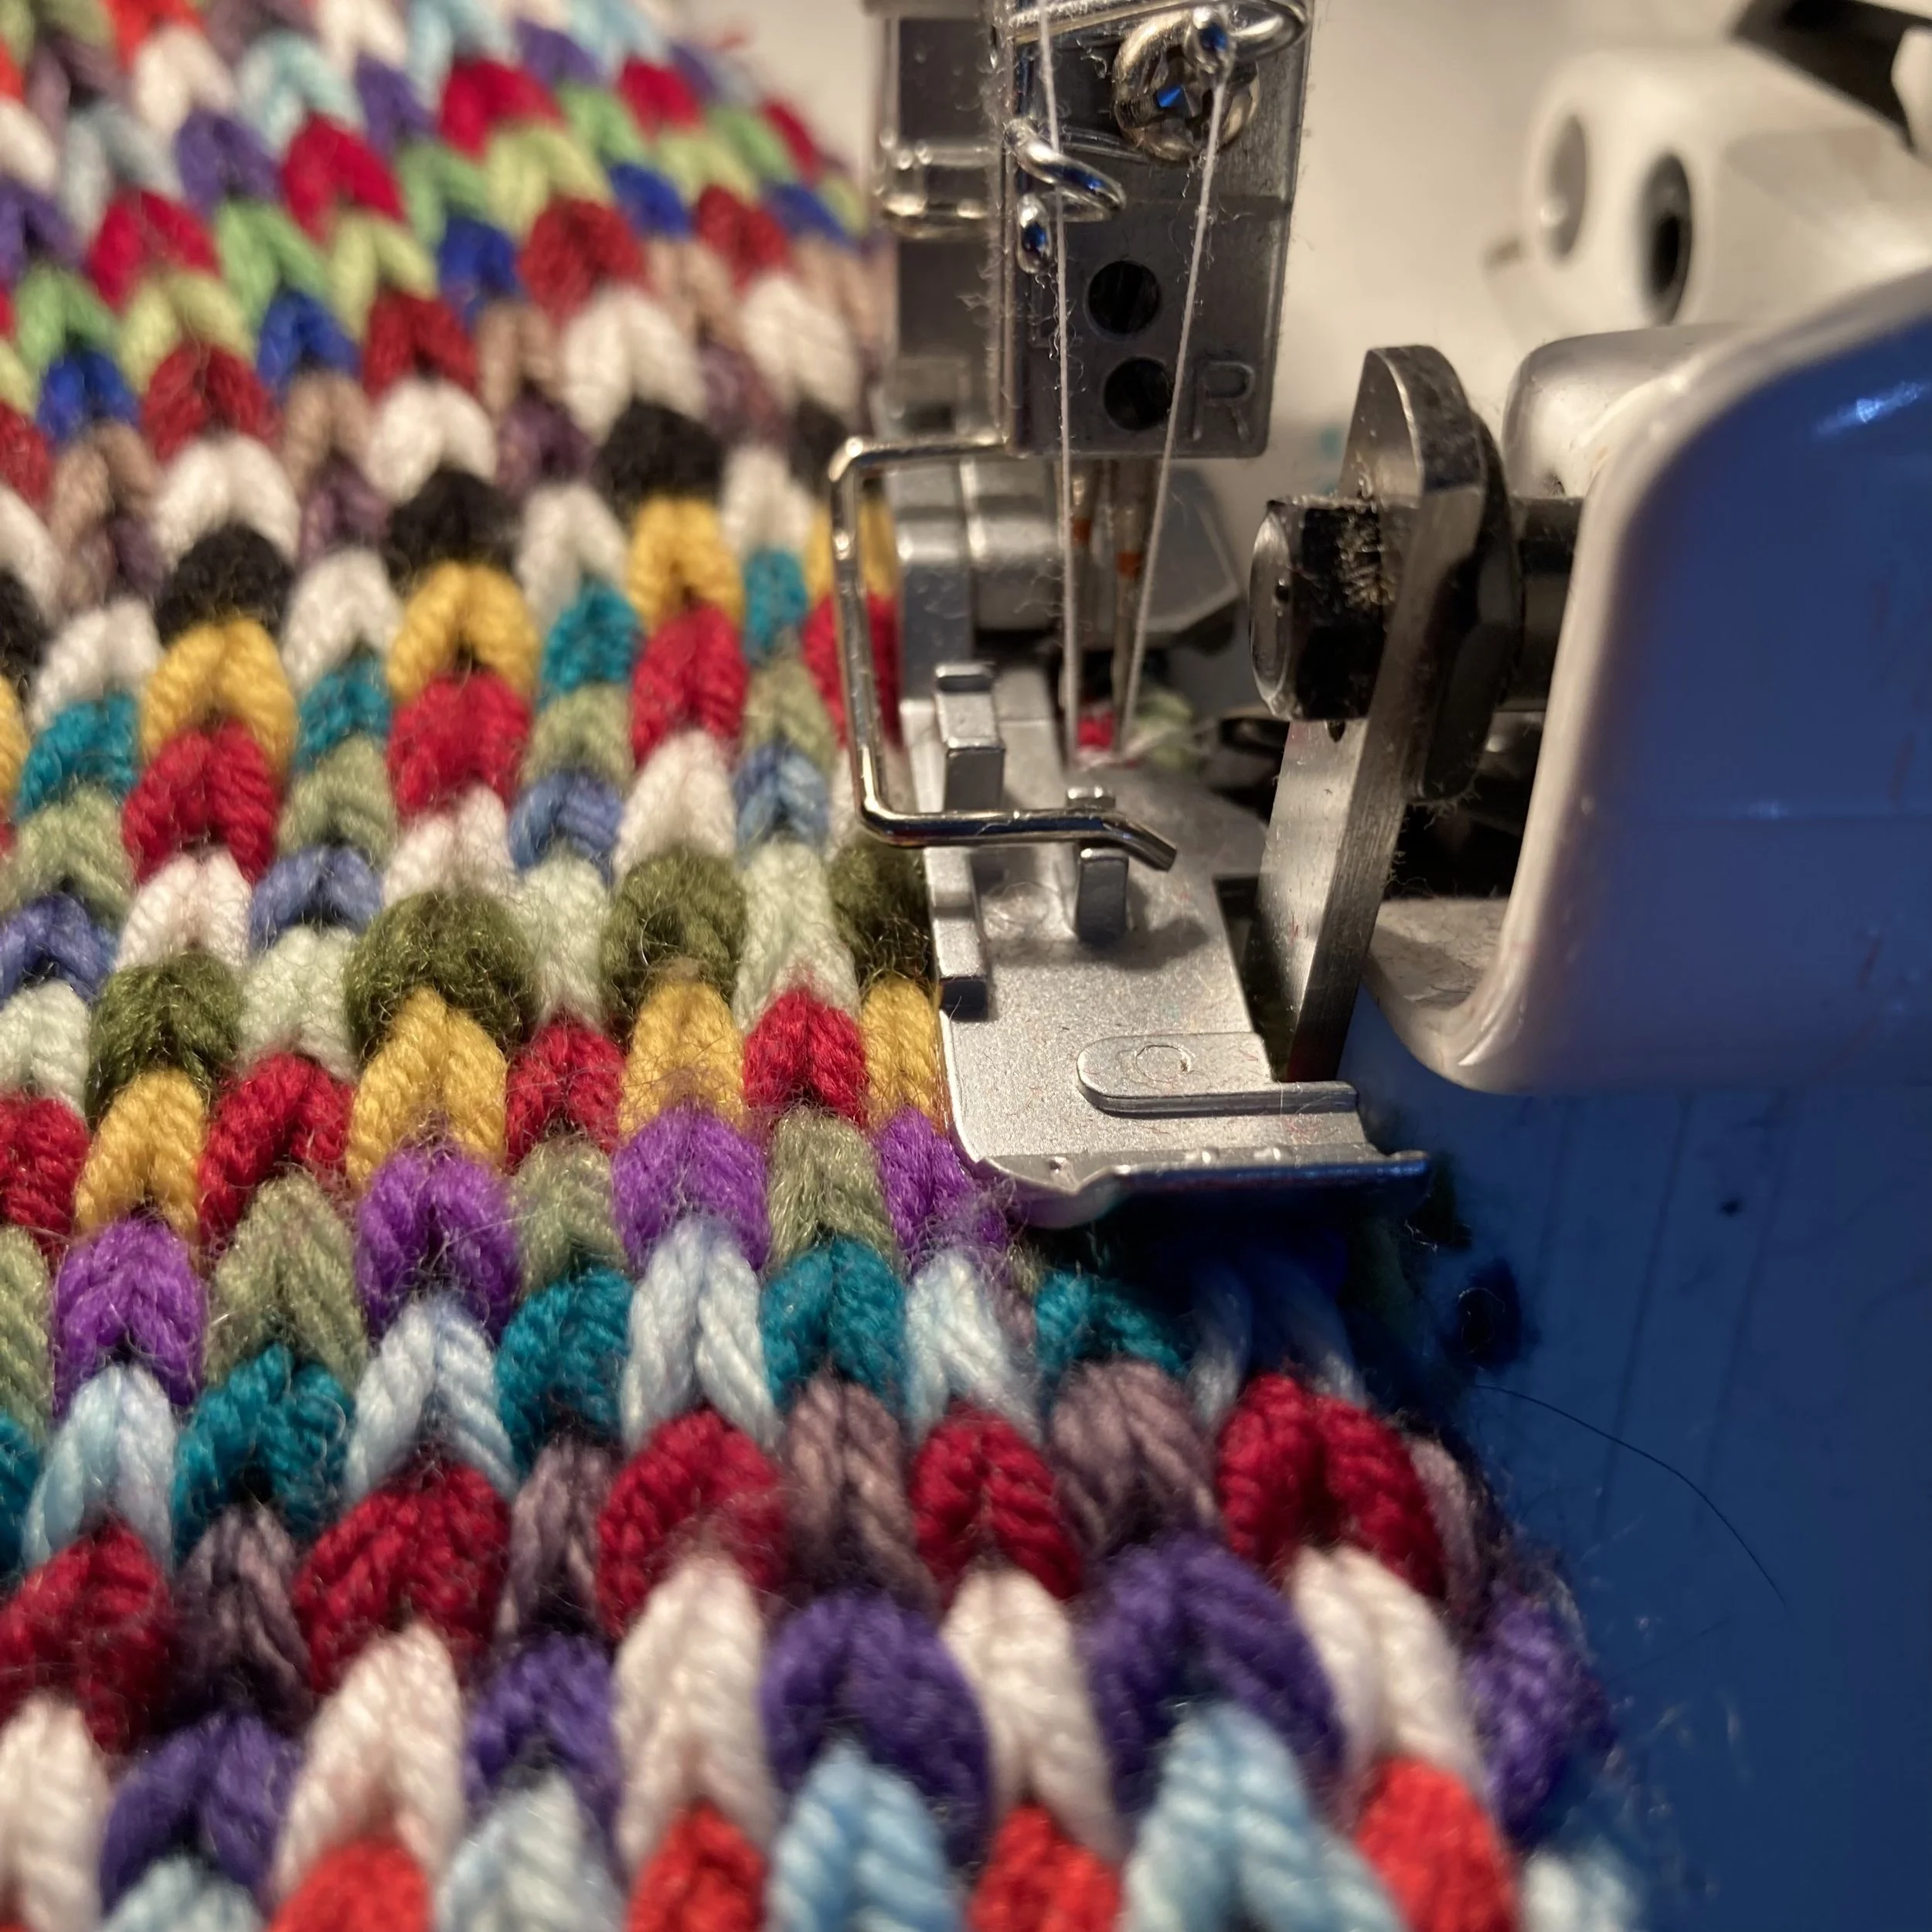
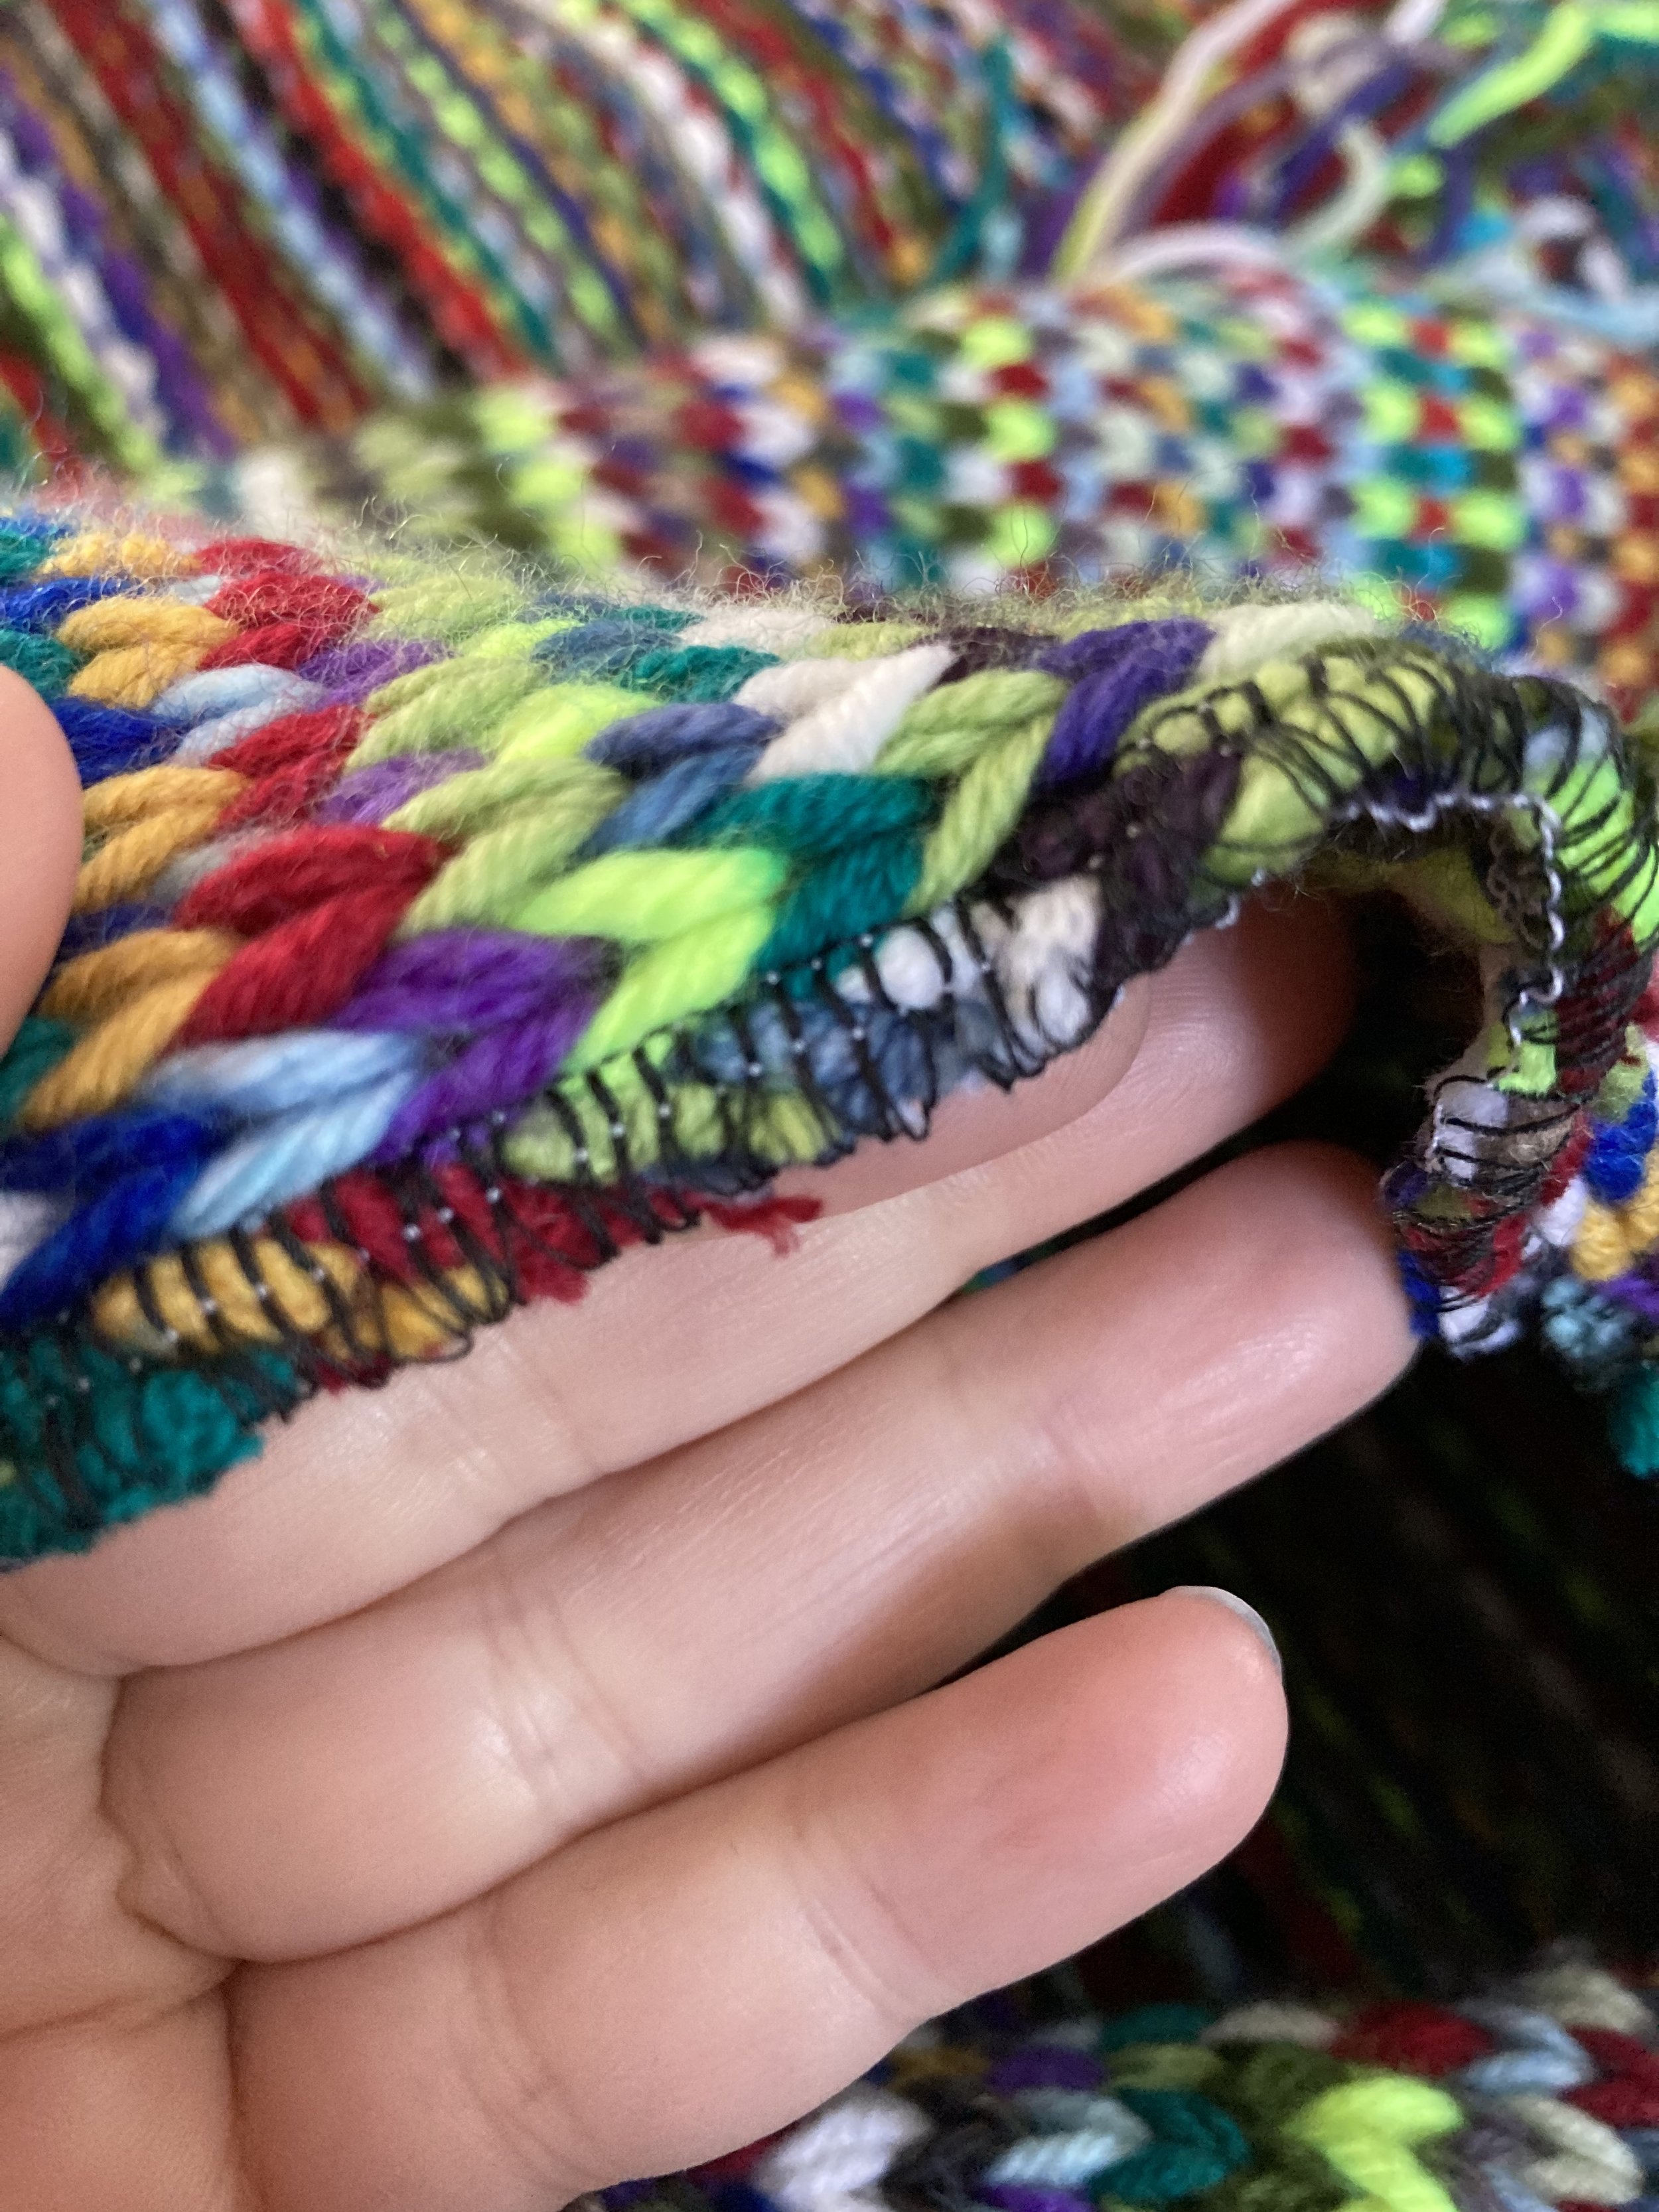
And, this is what later me did. Sacrilege! No weaving, no knotting, no figuring anything out. I just serged the edges of my sweater. This decision was incredibly freeing. It’s not one I will make often, as I prefer the clean edges that come from weaving threads in, but it is freeing to realize I can do what is right for me without worrying about what other knitters think about it.
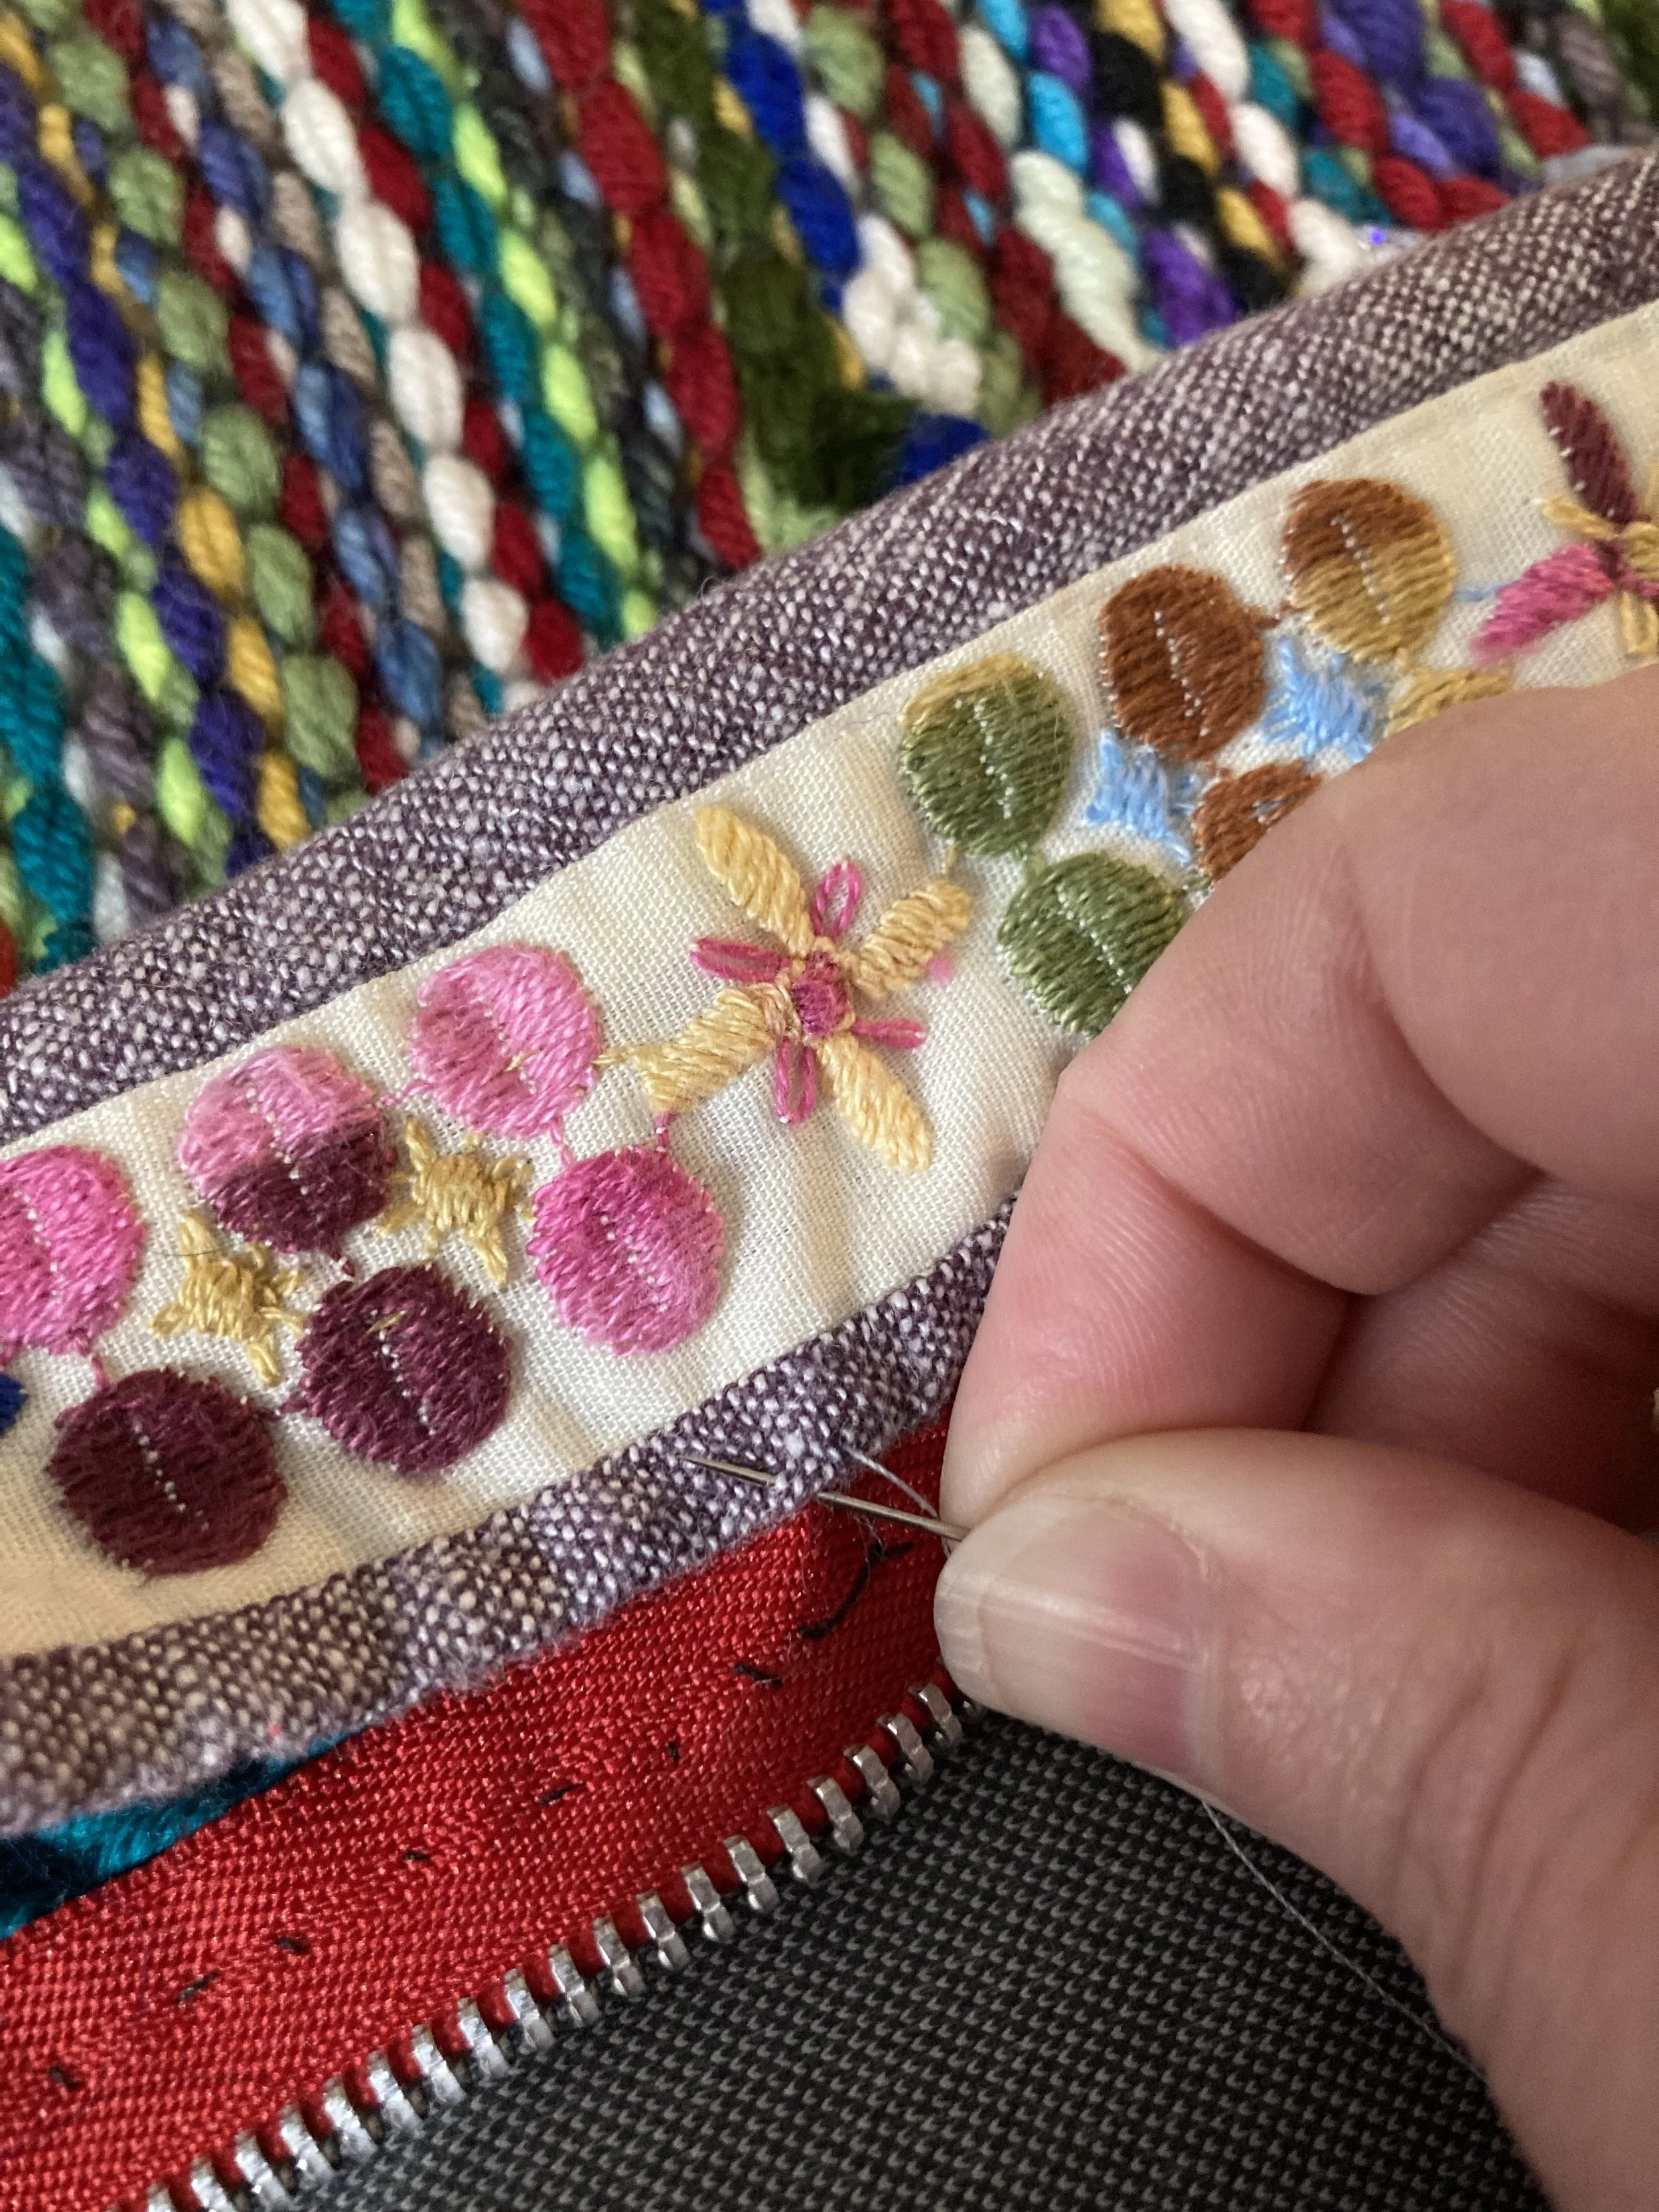
The decision to serge the edges led to one of my favorite design elements in the jacket, adding this vintage trim (from Fiddlehead Artisan Supply) to cover the edges of the fabric and the zipper. I love that I had a reason to add this gorgeous trim to this bit of knitting.
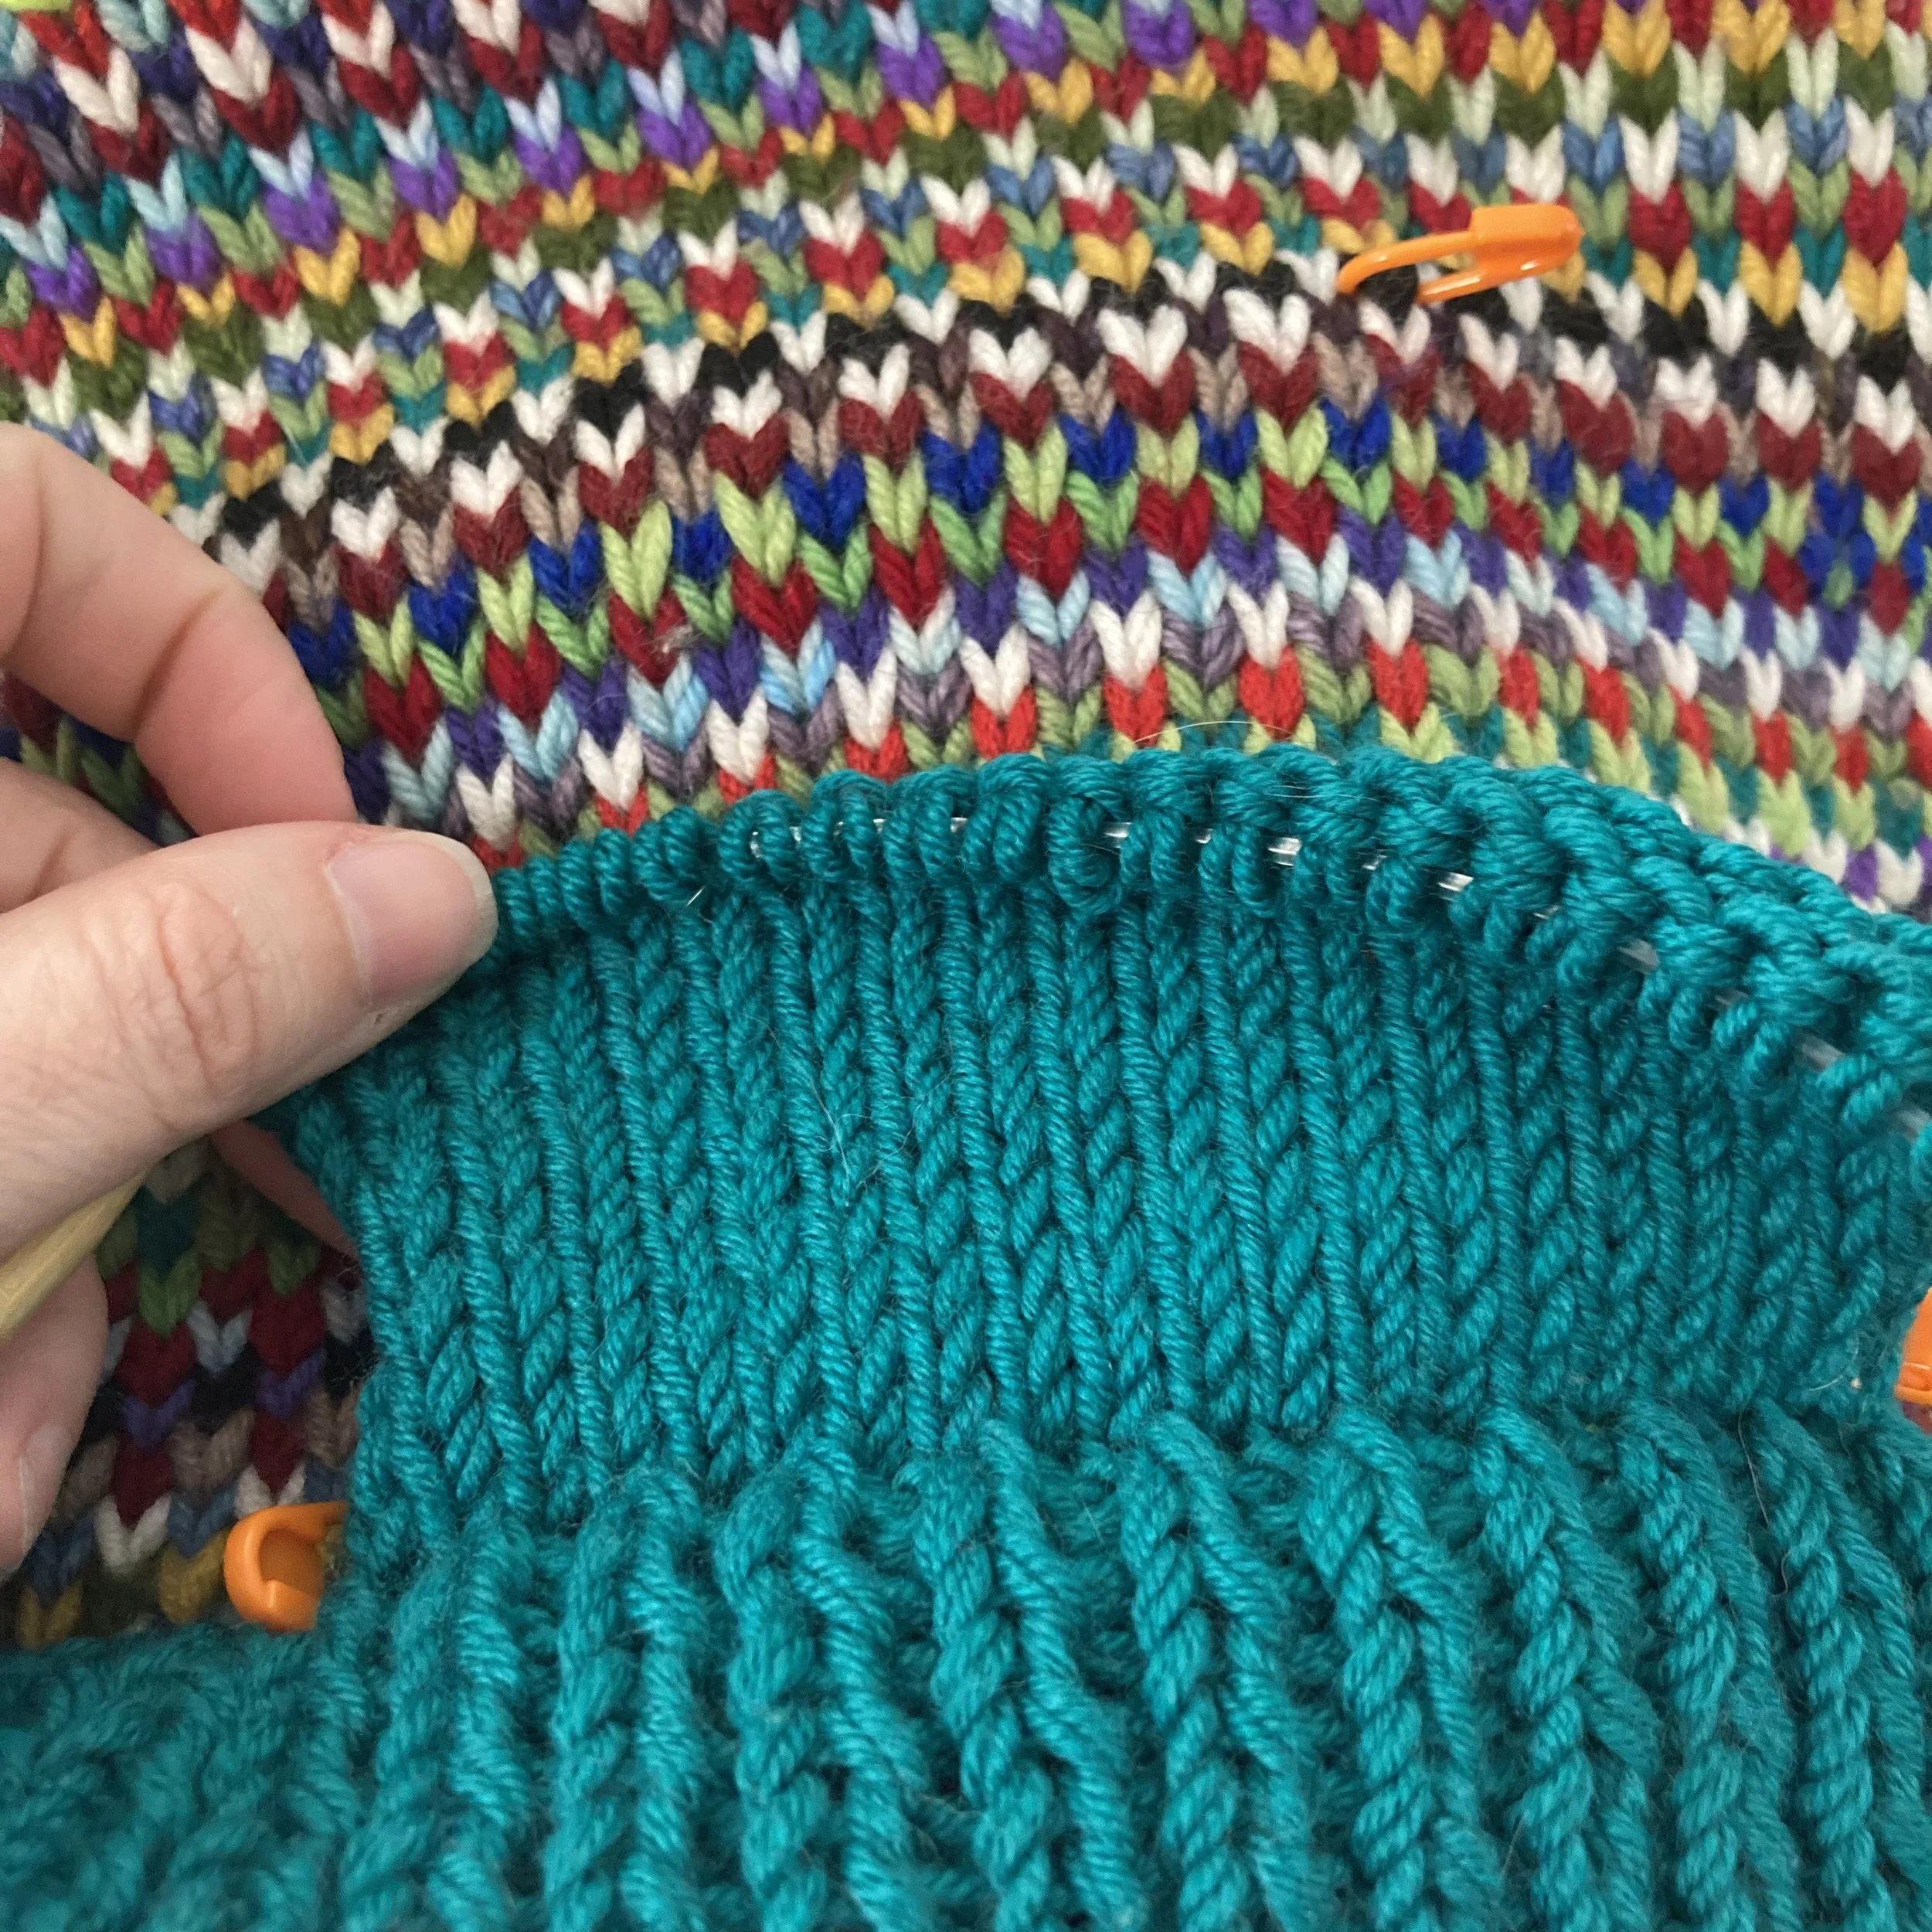
This design element, however, did not work, and I immediately ripped it back out. (You can see all those knotted yarns gaming down in this photo.)
Another design element that didn’t work was patch pockets… because I ran out of green yarn. So, I pulled the one out and made afterthought pockets, using directions from Tin Can Knits.
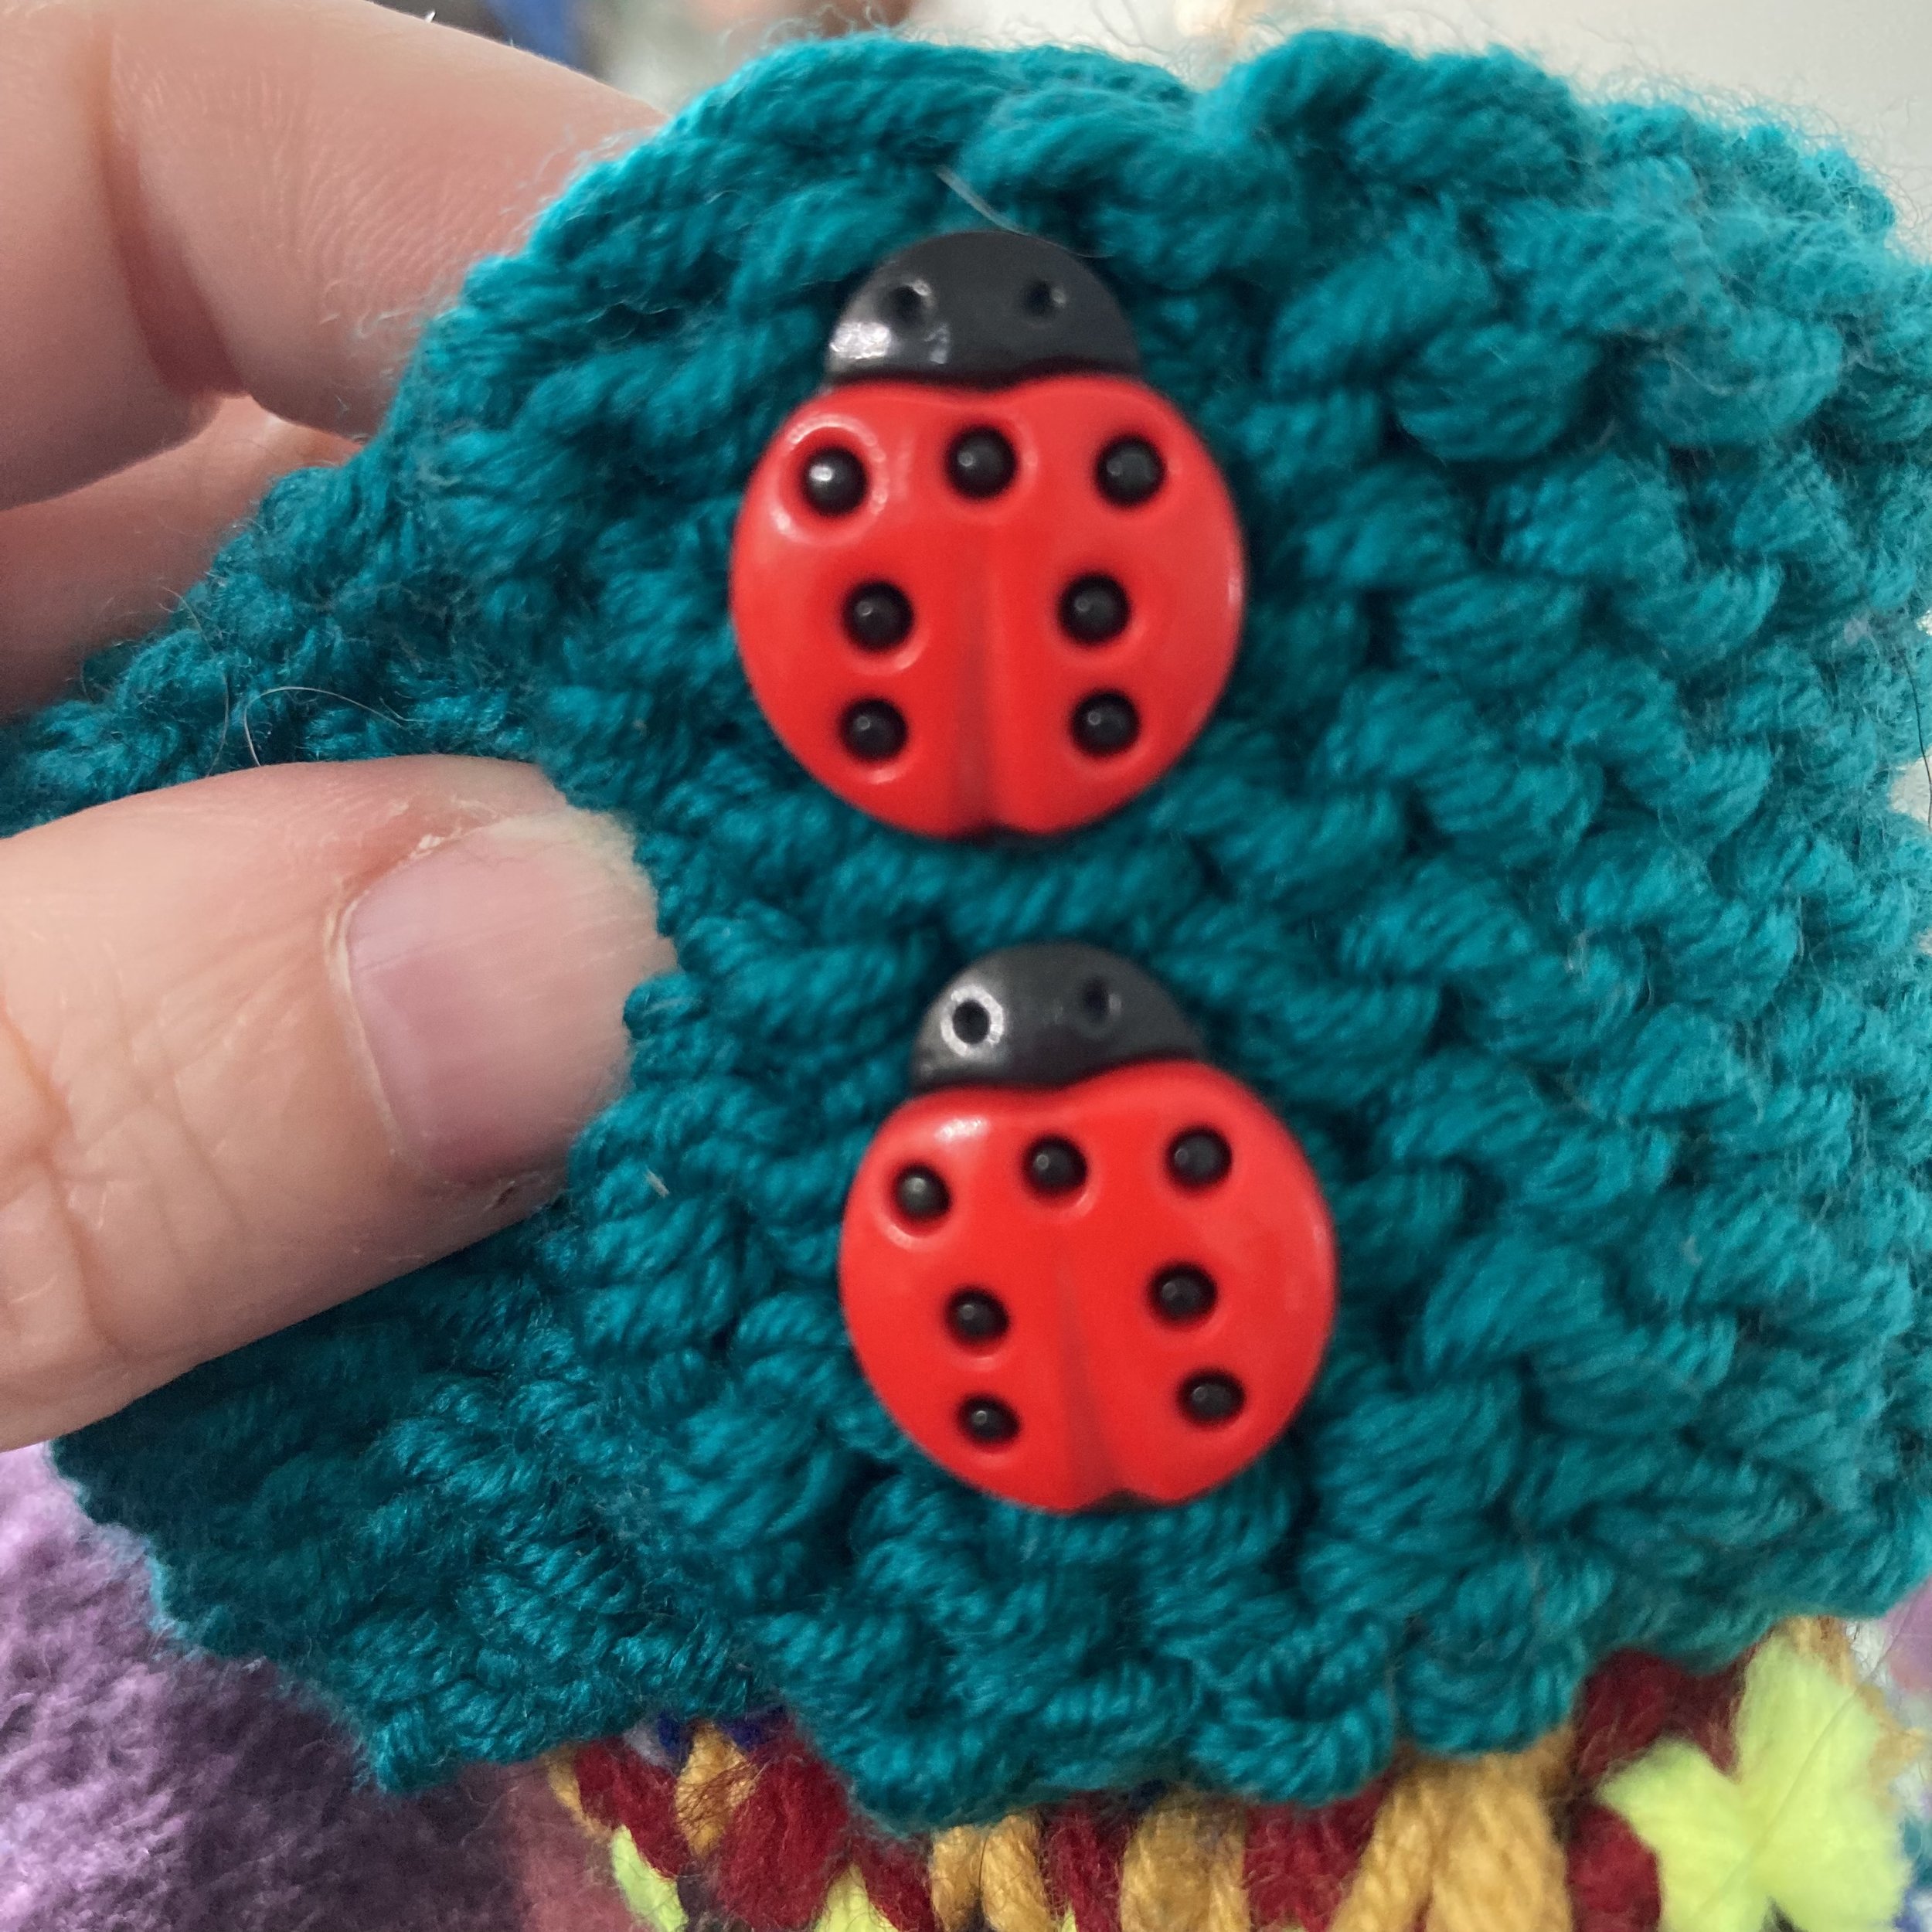
I added ladybug buttons to the sleeve cuffs, much to my husband’s dismay. He thought I was making something elegant. Pfffft. He likes them, and they’re really the perfect finish.
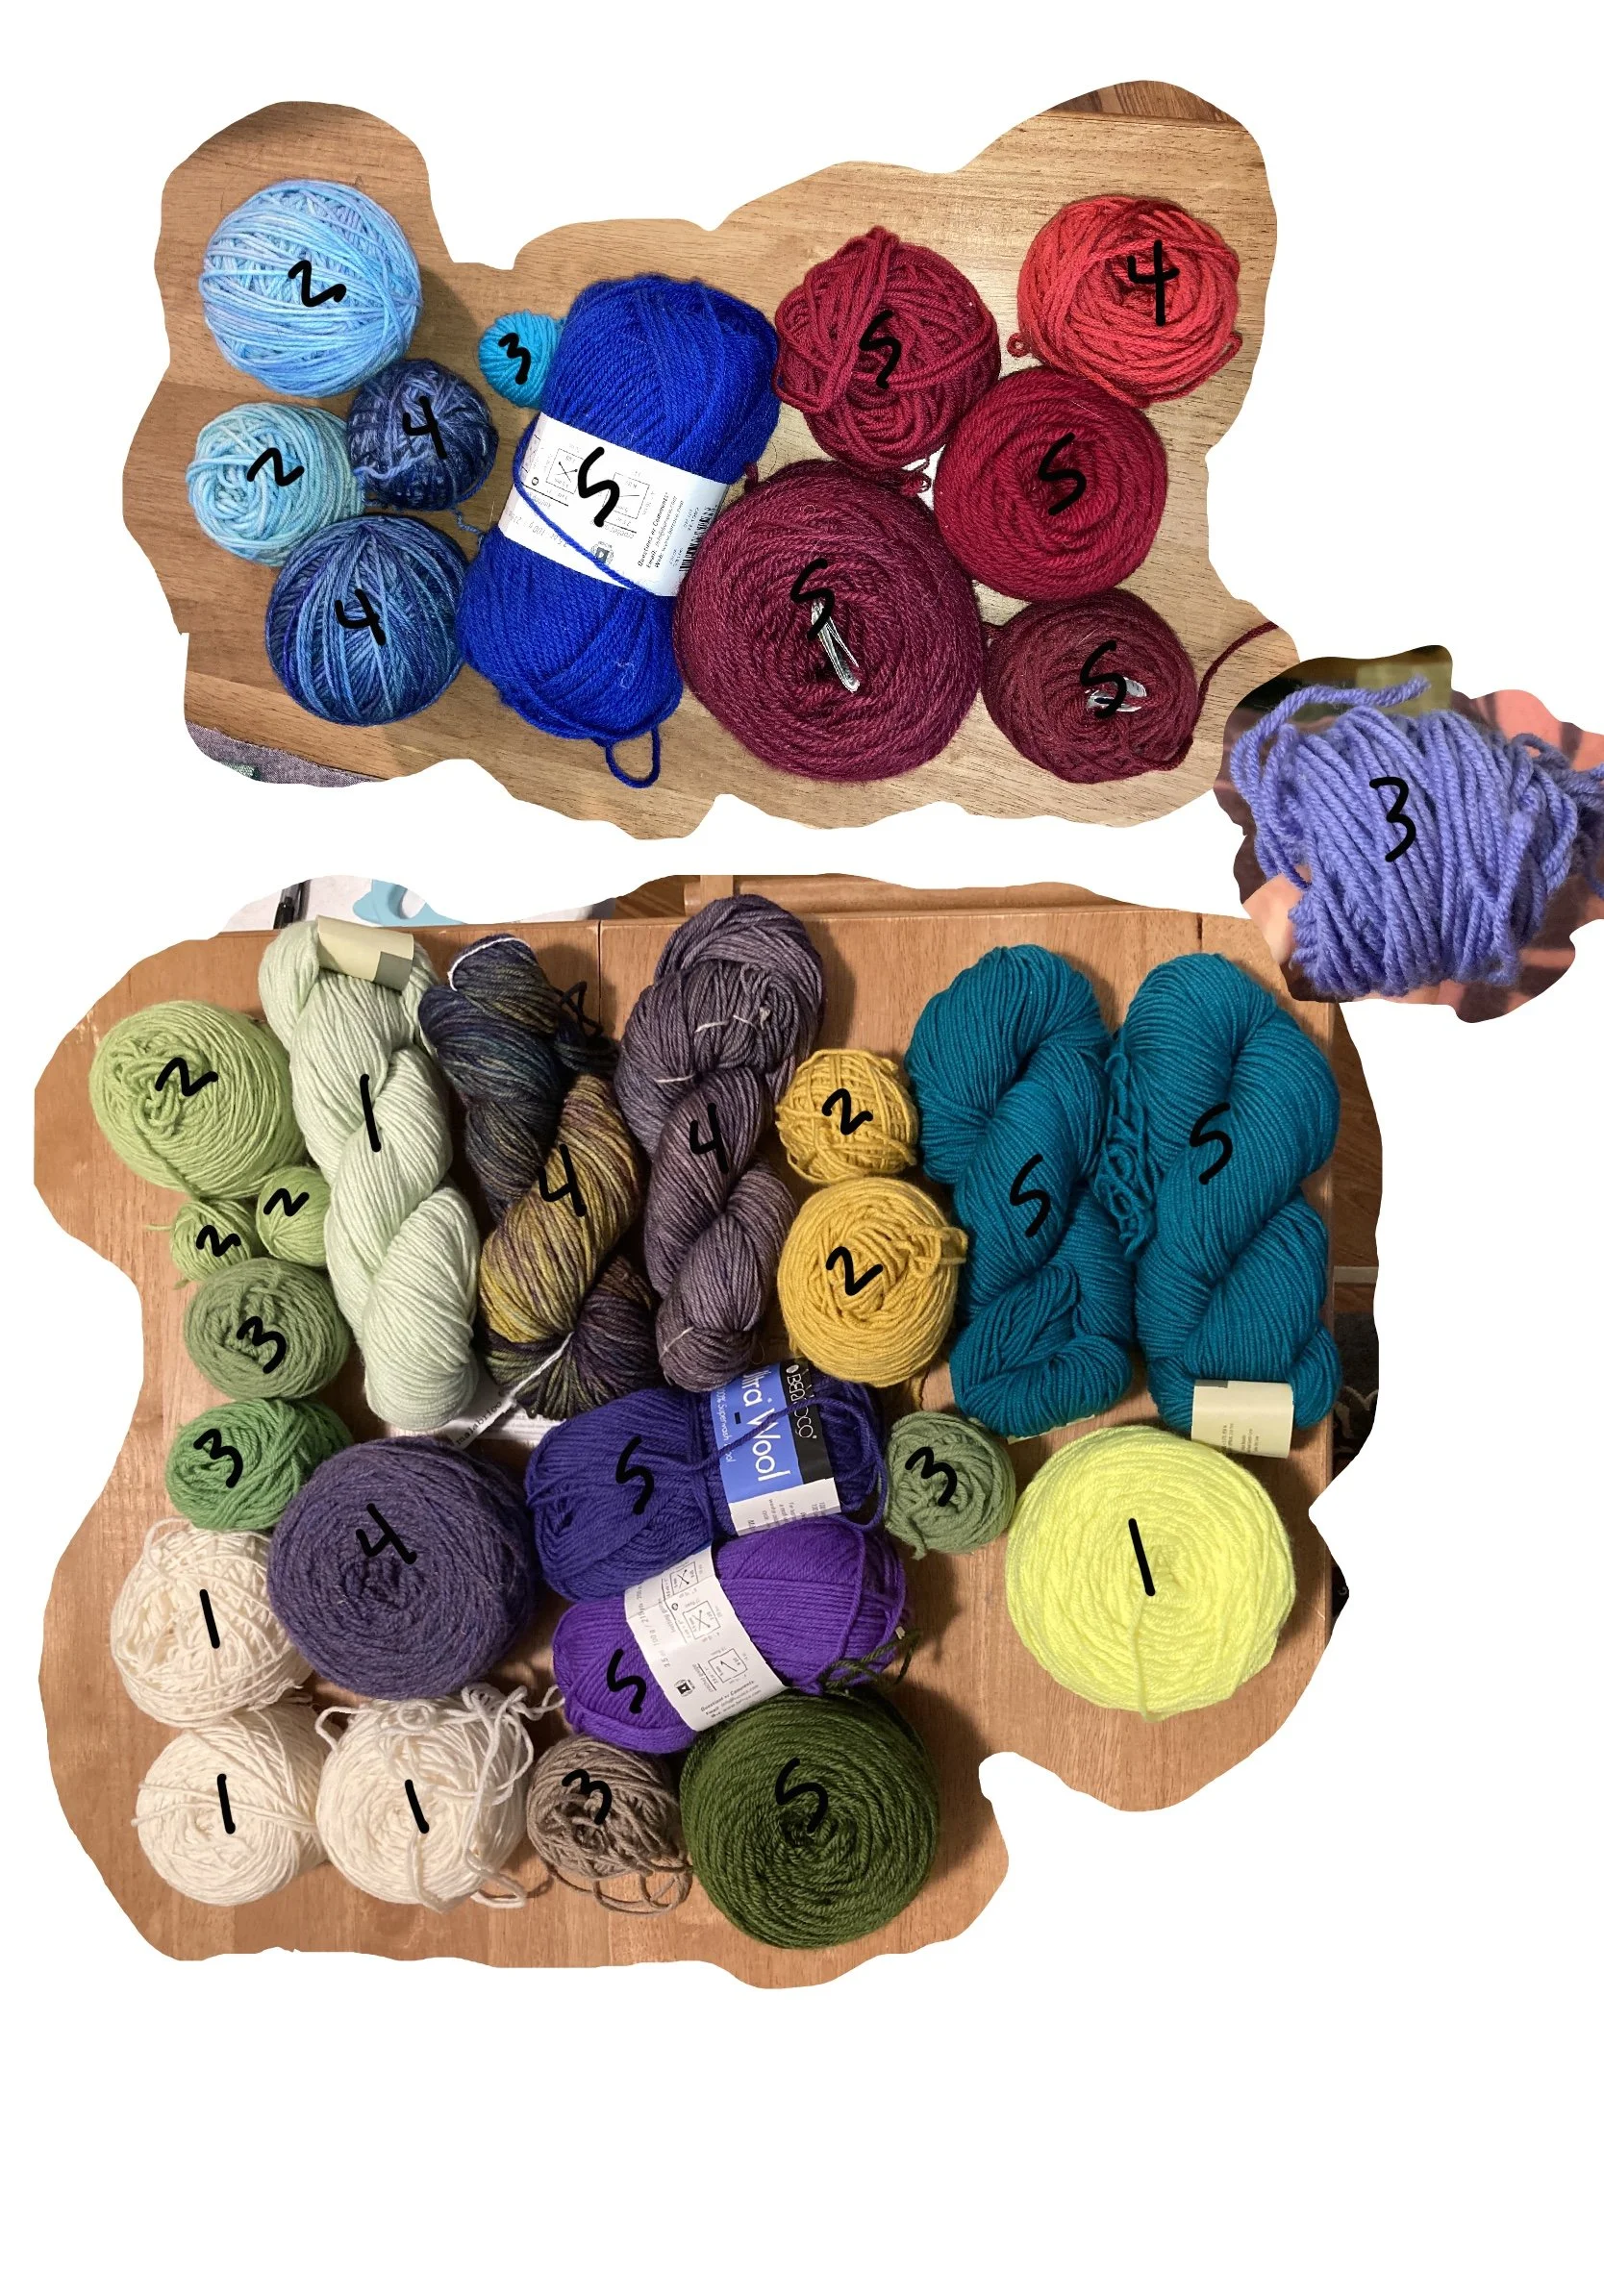
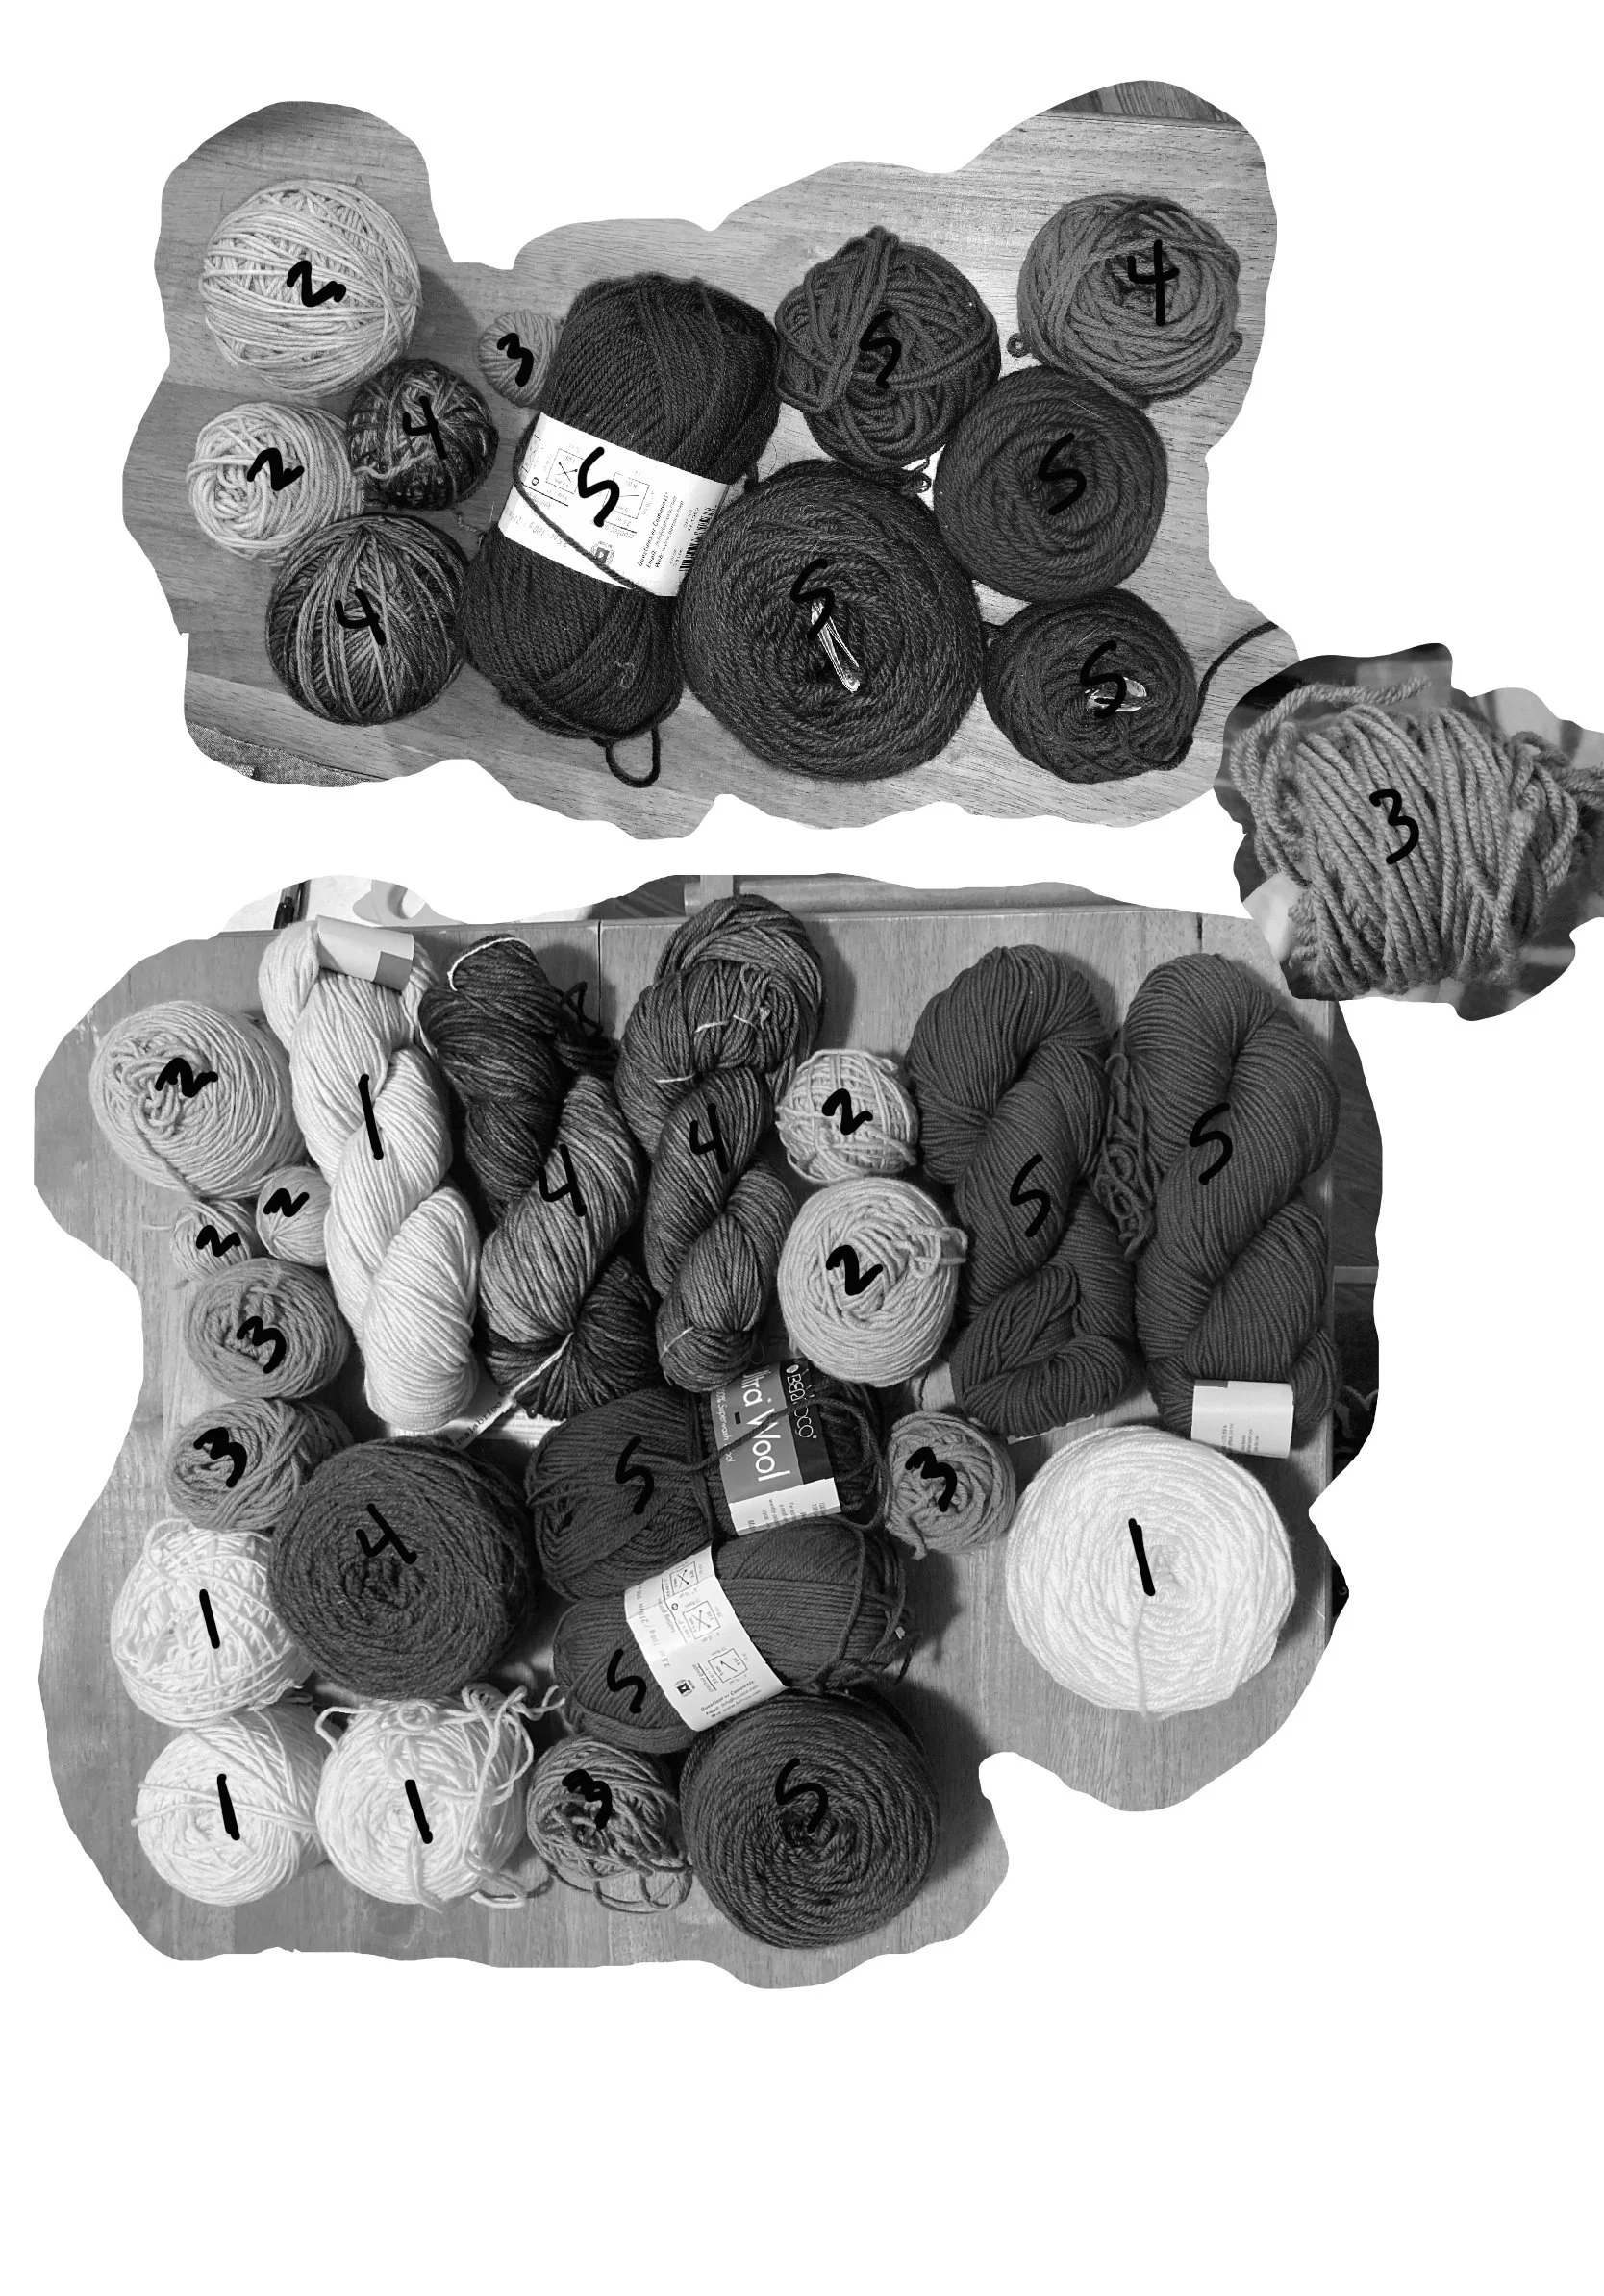
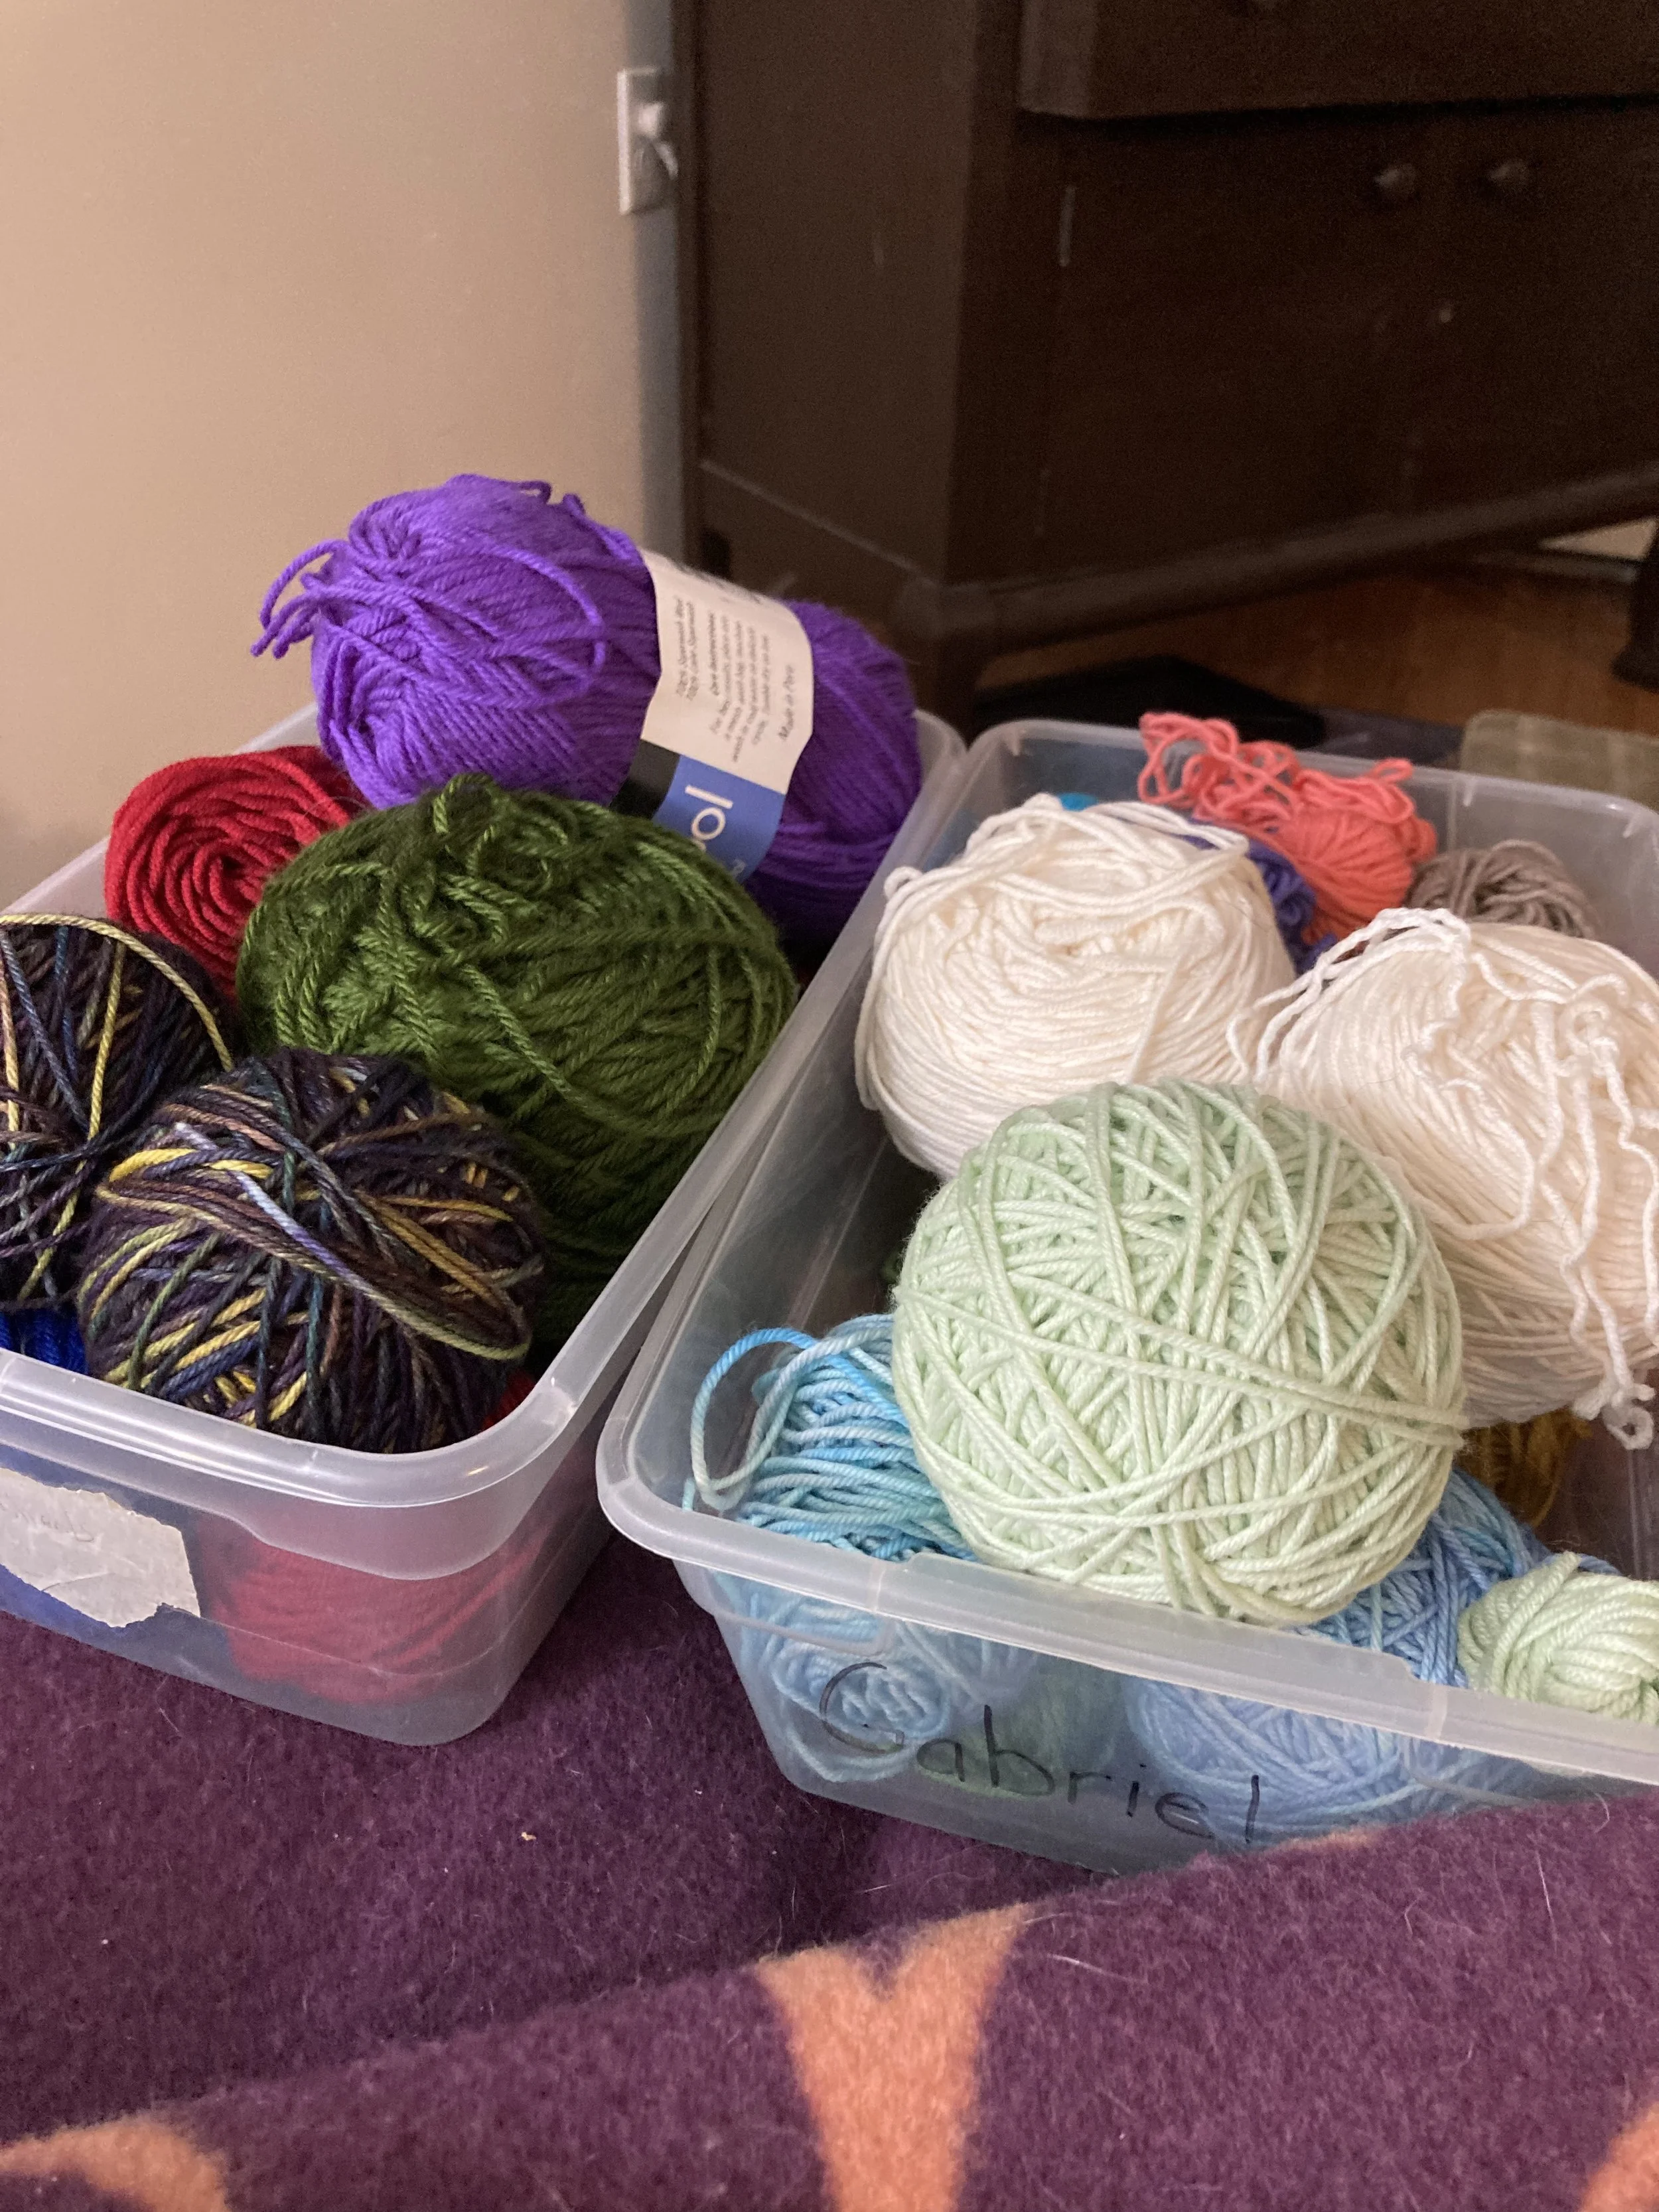
Before I go, I want to point out this little trick I used to decide on color ‘placement.’ I put all the yarn I was using on a table and took a picture of it. Then, I desaturated the color so that it was in black and white and assigned a number value to the color. I put the lower half of the colors in one box and the other half in another box. Then, I just reached in and grabbed one from each box when I started a new row. I did not do any planning for which colors should end up next to each other. I did save a couple colors that I had very little of to place those where they would get the most visibility.
Everything used in this project came from supplies in my ‘stash.’ I got lucky that I had a separating zipper that I purchased early in my knitting days that was too short for the project I was making at that time. Otherwise, I would have had to go with buttons and I really wanted this to zip. I used all my reds, all of two skeins of white, all of the light blue, most of the dark blue, all of the emerald green (three skeins), all of my light greens except that extremely pale green (I still have a couple skeins of that) and a good portion of the other colors.
This was a great stash busting project, although I still have so much yarn! I need to find a project for sock yarn, but first, I need to finish the last kid’s Geek-a-long blanket.
Notes: All yarn is worsted weight held double. All but the bright yellow yarn is superwash wool. That one is acrylic. It’s the only acrylic I have in my stash because I don’t like acrylic. I used almost all of it, though, because it gave a nice pop of color throughout the jacket. The pompom was made on a clover pompom maker. I cut the trim off a pair of wrap pants I made last year that I am planning to use the fabric for something else. I have more trim, but it made sense to use what I already had in use.
My first home, Tulsa, Oklahoma
Hello, World
I’m excited to introduce my new website, The Nomadic Mermaid. If you know me, you’ll already understand the reason for the name of my business. But, for those of you new to me, let me introduce you to myself.
My name is Kristina Bourbonnais Pelletier. While I was in the Navy, I was given the nickname Bourbon, and for years, Bourbon Girl was my online moniker. But, I’ve been sober since I was 19 and most people don’t put the name together with my maiden name. A friend suggested a combination of French and Latin, Bon nails, which roughly translates to “good river nymph.” I thought this was brilliant, except that salt water runs through my veins.
I decided to combine the nymph, the sea, and my nomadic nature, and The Nomadic Mermaid was born.
It feels as though I am constantly on a journey, be I living in the same house for 9 years, or finding a new place to live. I hope that my life is always a journey, whose end only is reached with death. Welcome to my journey.


